Style preset
Use it to stage the whole room in a coherent direction such as modern, Scandinavian, or traditional.
Practical virtual staging guide
A strong result begins before you press Generate. Use this workflow to choose the right source, give clear direction, protect the room’s real architecture, and publish an honest final image.
3 free credits · No credit card required
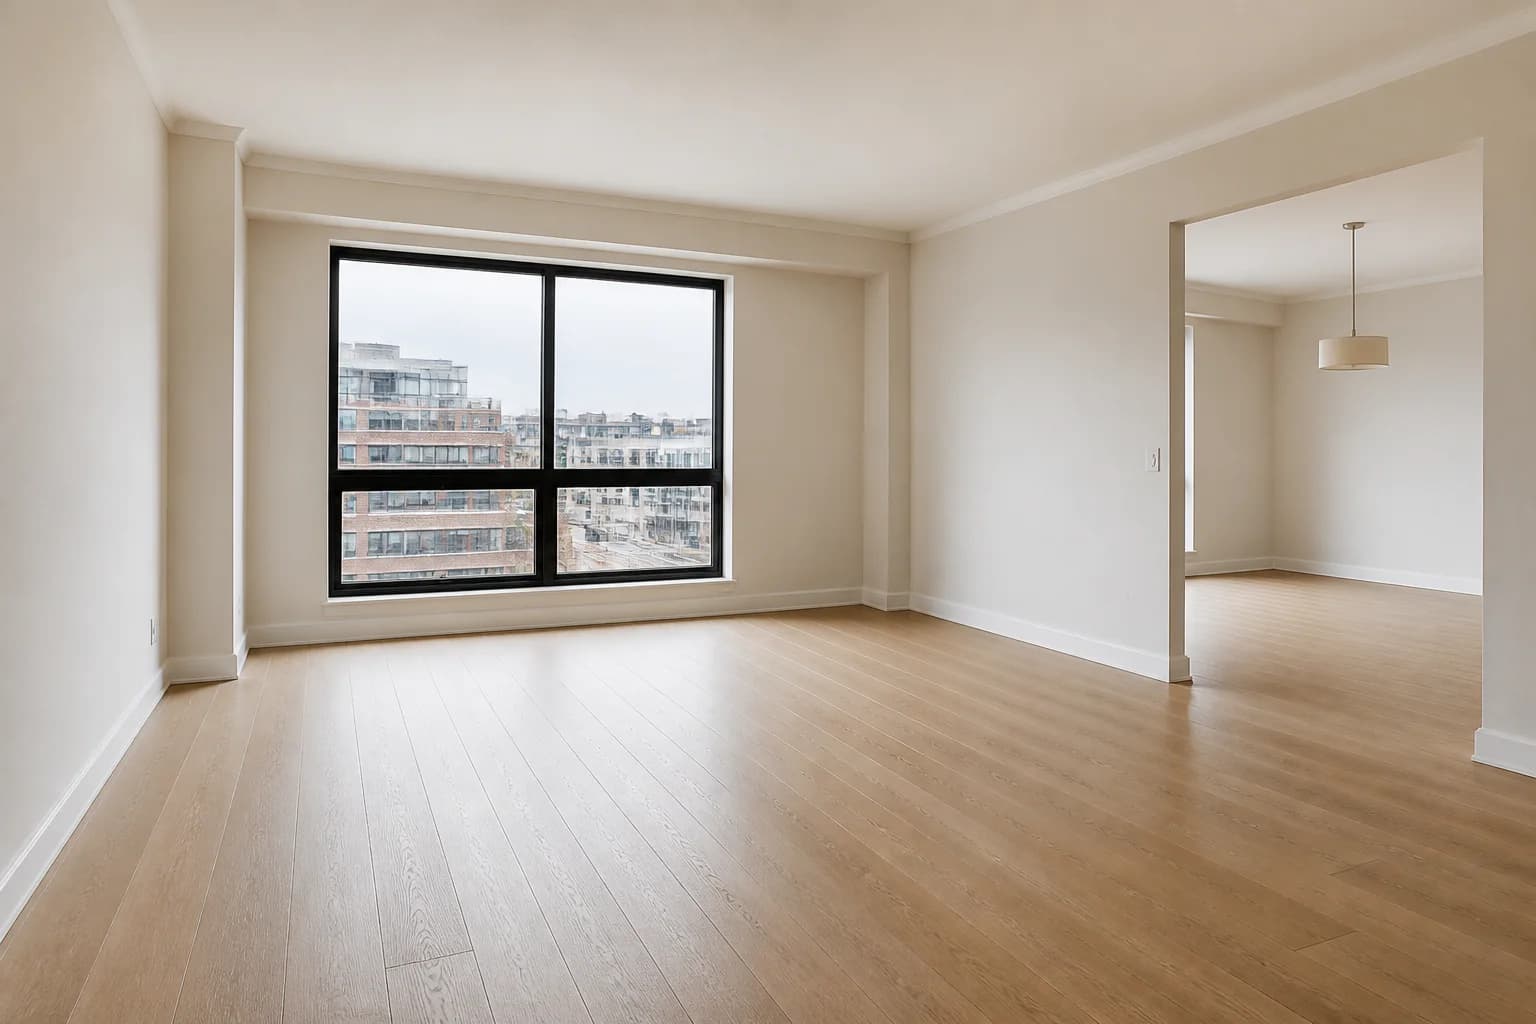 Before
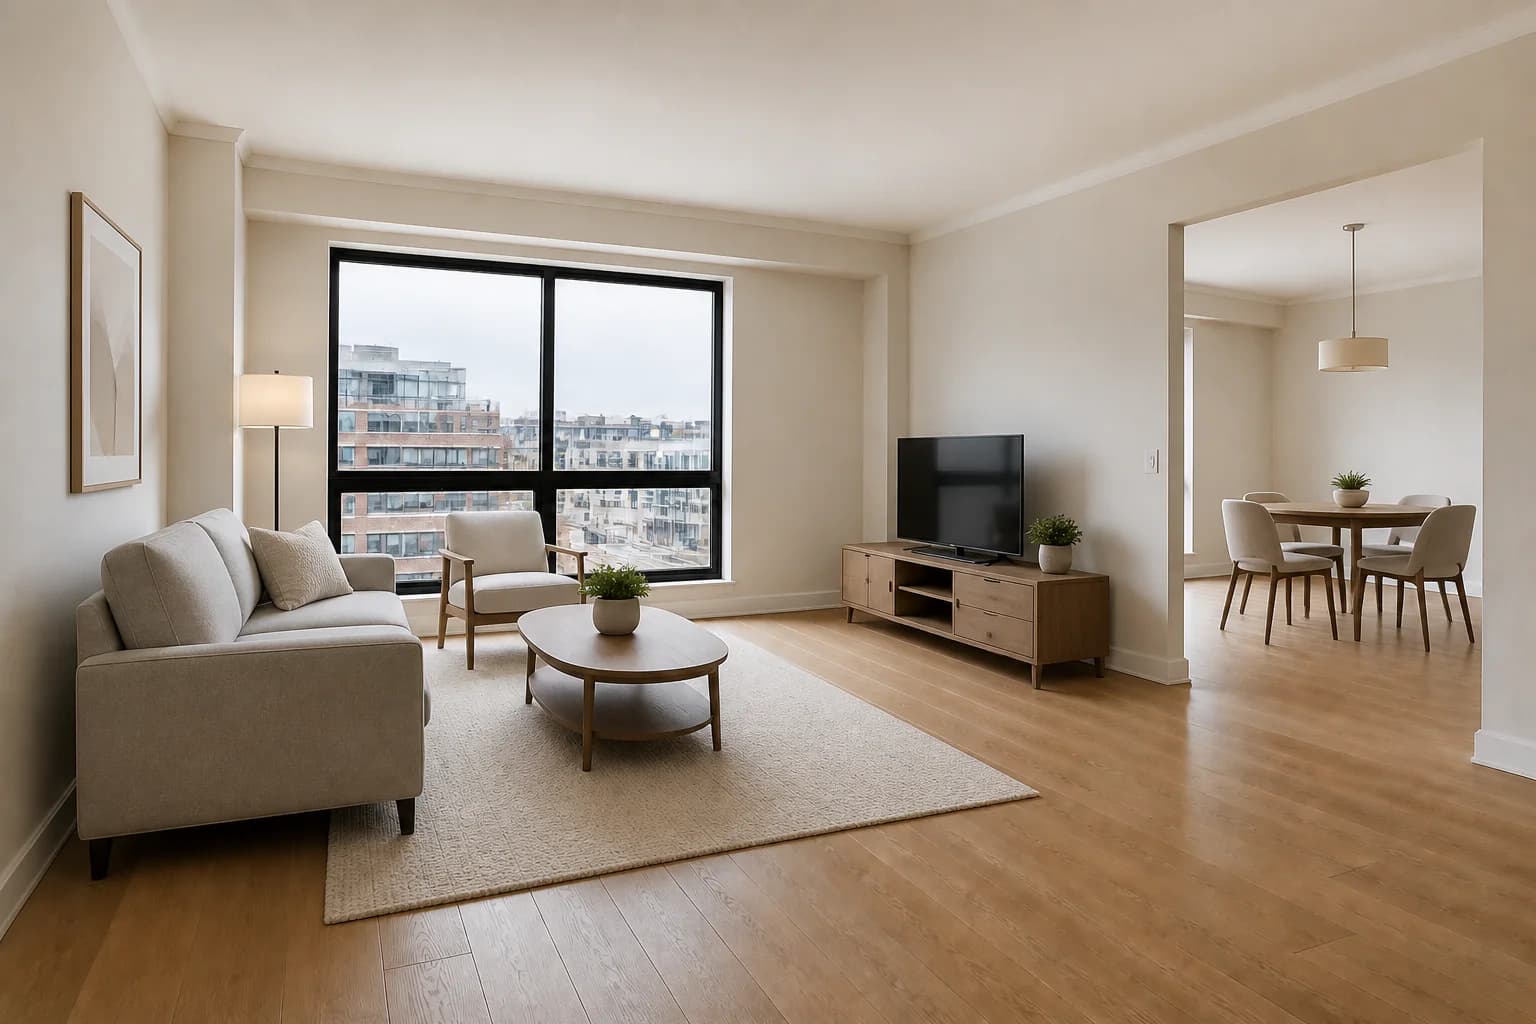 After
AfterAI-generated demonstration scenes created for this guide—not a customer listing or a representation of actual customer results.
Step by step
Treat virtual staging like photo editing: make one clear decision at a time, compare against the source, and keep what is physically permanent truthful.
Start with the original, highest-resolution room photo. Correct exposure and perspective first; staging cannot recover detail that is not present in the source.
Pick one believable use—a living room, bedroom, dining room, office, or flex space. Base the decision on room dimensions, traffic paths, outlets, windows, and the audience for the listing.
Virtual Staging is best for a full furnishing concept with a preset design style. Custom Prompt is better for targeted changes or a transformation that does not fit the staging presets.
In Virtual Staging, Add-ons can request a specific sofa, dining table, desk, or other staging detail. Keep them compatible with the selected style. For precise edits, move to Custom Prompt instead of fighting the preset.
Value uses low quality for 1 credit and is the recommended starting point. Balanced uses medium quality for 2 credits, while Pro uses high quality for 5 credits. The selected quality stays with the current image run.
Check furniture scale, walking paths, shadows, reflections, window edges, and permanent architecture. A visually attractive image is not ready if it changes a door, invents a window, or blocks a real feature.
Select the best generated version as the source for the next edit. Ask for one or two concrete changes at a time—for example, “replace the sofa with a smaller neutral sectional; keep everything else unchanged.”
Use Before and After to compare against the correct source, then download PNG or PDF. Label the final image as virtually staged and retain the original photo for reference.
Prompting decision
Use it to stage the whole room in a coherent direction such as modern, Scandinavian, or traditional.
Add a small, compatible requirement to a style-led staging job, such as “include a six-seat dining table.” Avoid turning this field into a long edit list.
Use it for targeted edits, unusual transformations, or exact constraints. State the requested change and what must remain unchanged.
Quality control
The most damaging mistakes are not about decor taste. They are changes that misrepresent the room or make the edit visibly implausible.
Reject results that move windows, remove doors, alter flooring, or invent built-ins.
Compare sofa, bed, rug, and table scale to doorways and known room dimensions.
Preserve entry paths, closet access, door swings, and routes between spaces.
Do not combine a full style restage with unrelated targeted edits in Add-ons.
Select the strongest result before prompting the next revision.
Clearly identify virtual staging and retain the original photo for comparison.
Use a sharp, well-lit photo that shows the room clearly. Keep walls, windows, doors, flooring, and permanent fixtures visible, and avoid extreme wide-angle distortion when possible.
Use Virtual Staging and a style preset when you want a complete, cohesive furniture direction. Use Add-ons for a few staging-specific requests. Choose Custom Prompt when you need a targeted edit, an unusual room purpose, or precise instructions that should take priority.
State that permanent architecture must remain unchanged, then name the elements that matter: windows, doors, built-ins, fireplace, flooring, ceiling, and camera angle. Compare the result with the source before publishing.
Yes. After the first generation, select the version you want to edit and describe the next change. Follow-up edits in that image workflow are included; starting over with a new source begins a new generation run.
Use clear labeling such as “virtually staged” wherever buyers or renters could otherwise mistake generated furniture for physical contents. Requirements vary by marketplace and location, so also check the rules that apply to your listing.
Keep learning
Understand physical, human-edited, and AI staging cost structures without misleading price claims.
Learn moreSee room-specific workflows for preparing listing photos.
Learn moreBuild virtual staging into a real estate photography delivery process.
Learn morePut the workflow into practice
Upload a room photo, choose a clear direction, and compare every result with the original before you publish.
Try StagingGPT free