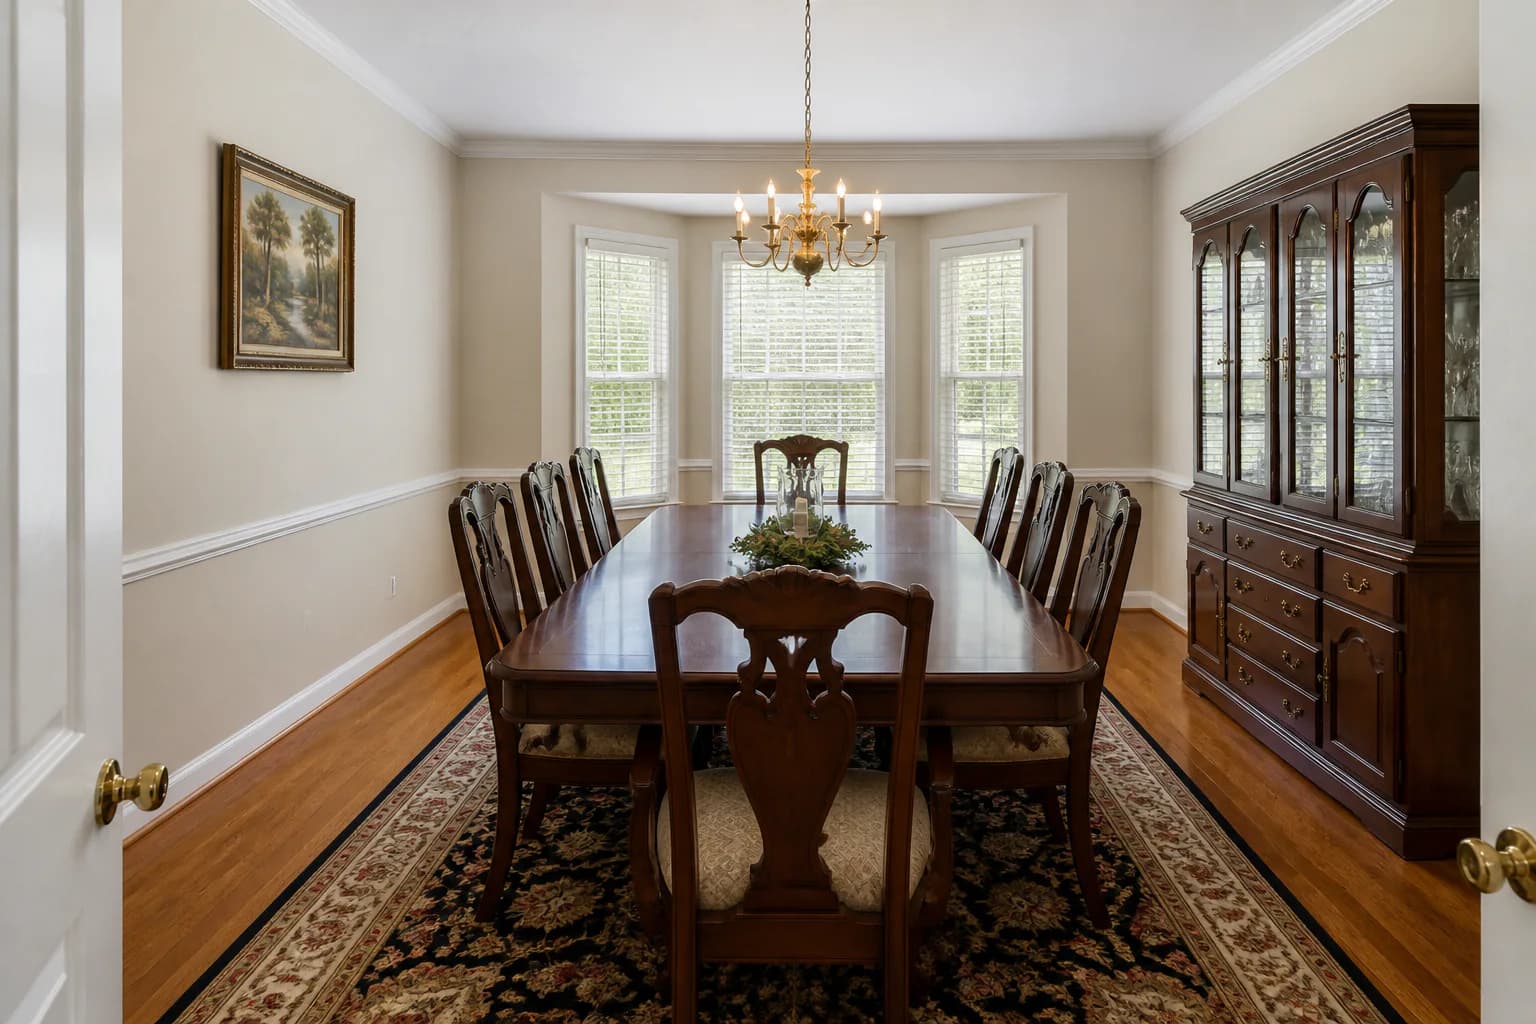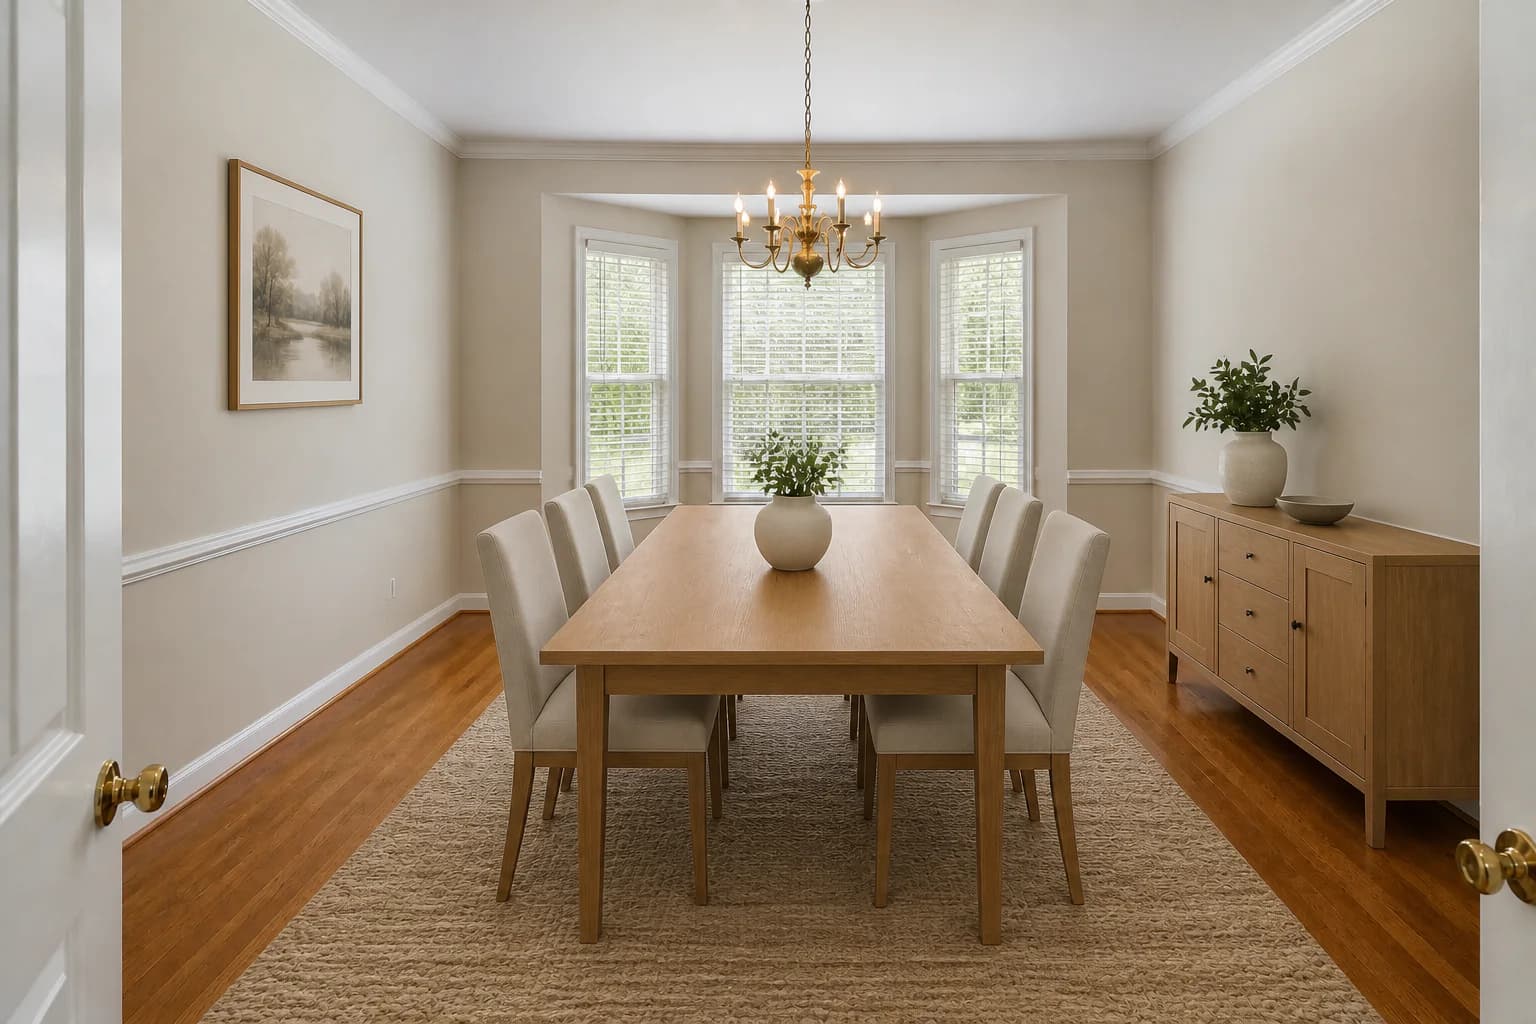
Room-by-room inspiration

Virtual Staging Before and After Gallery

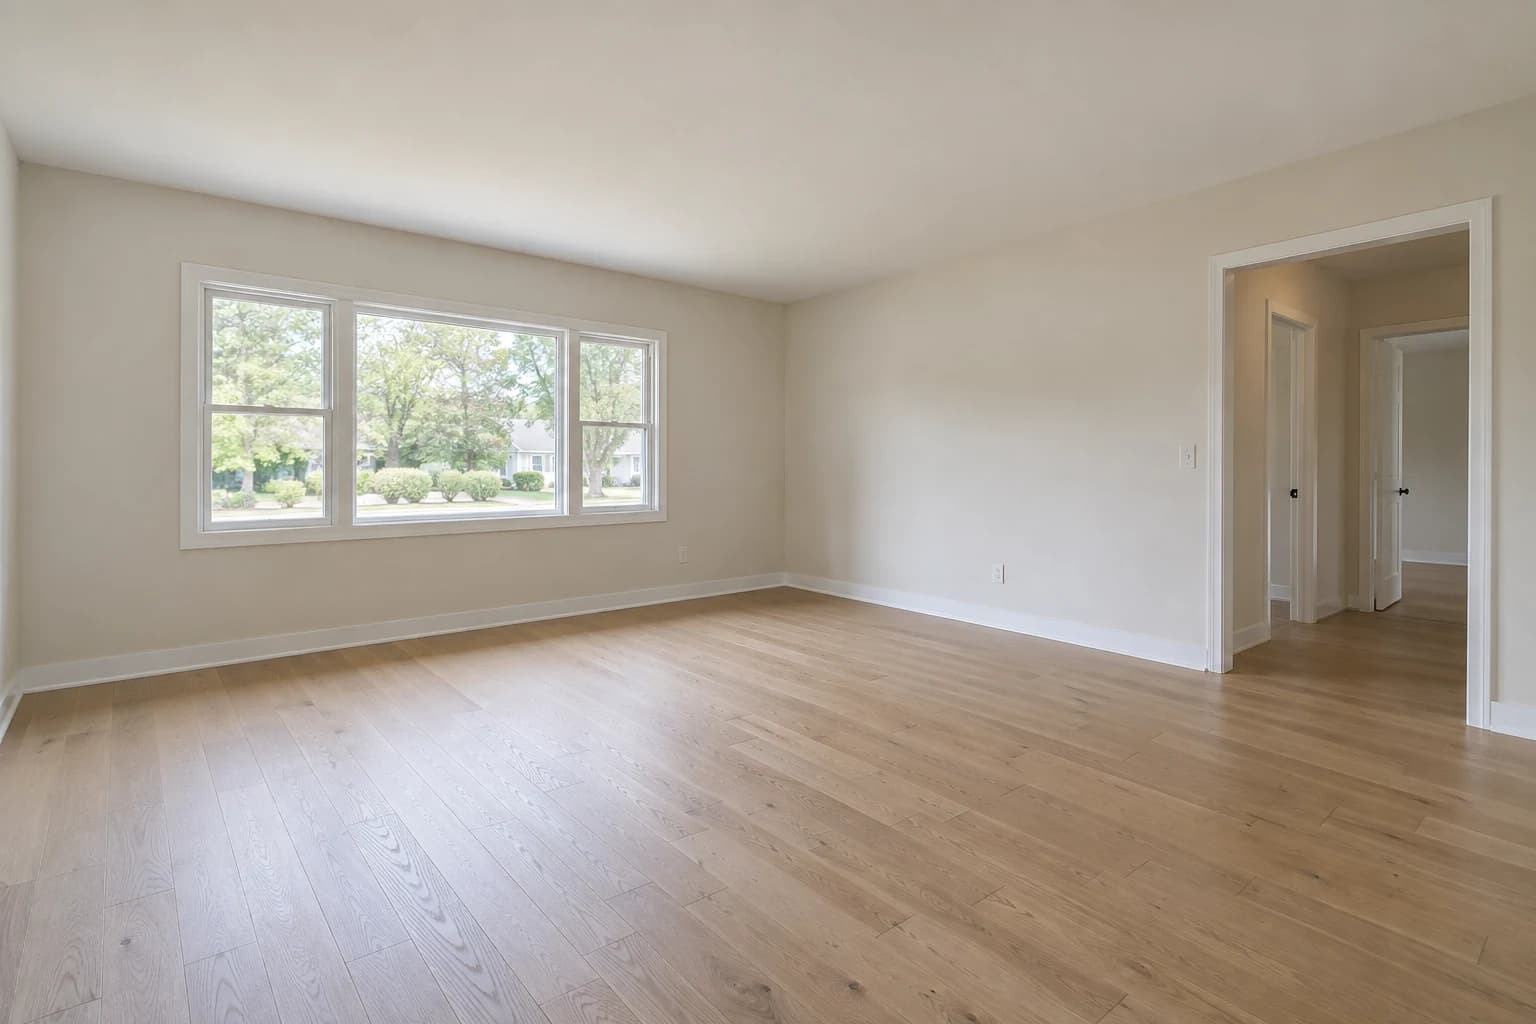
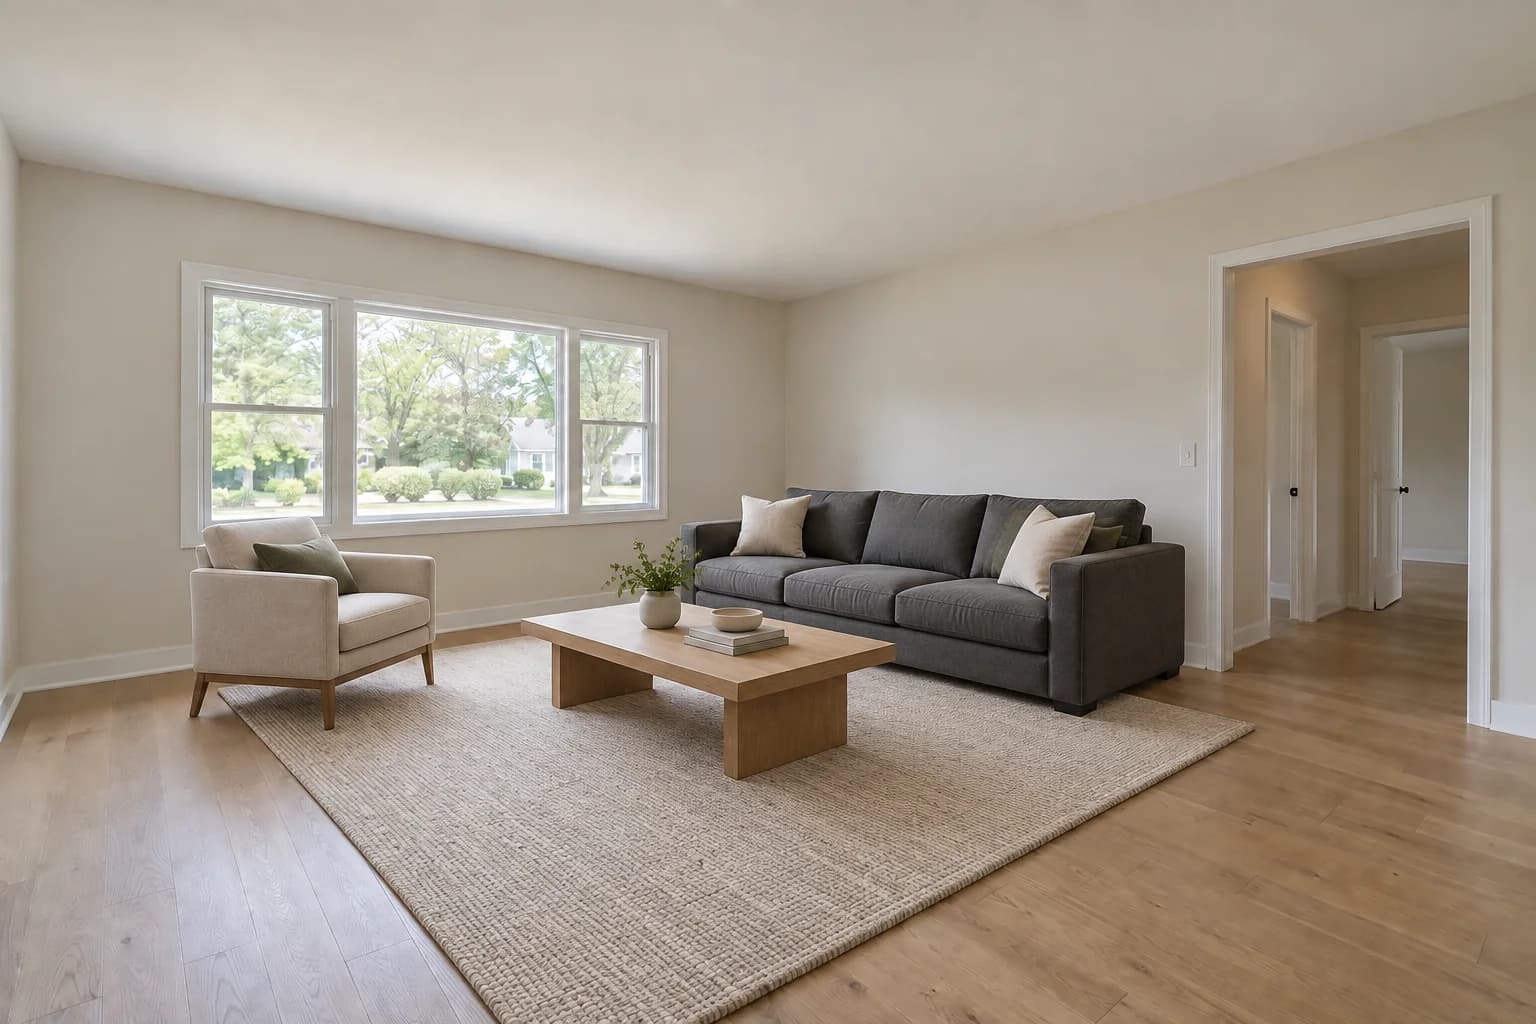
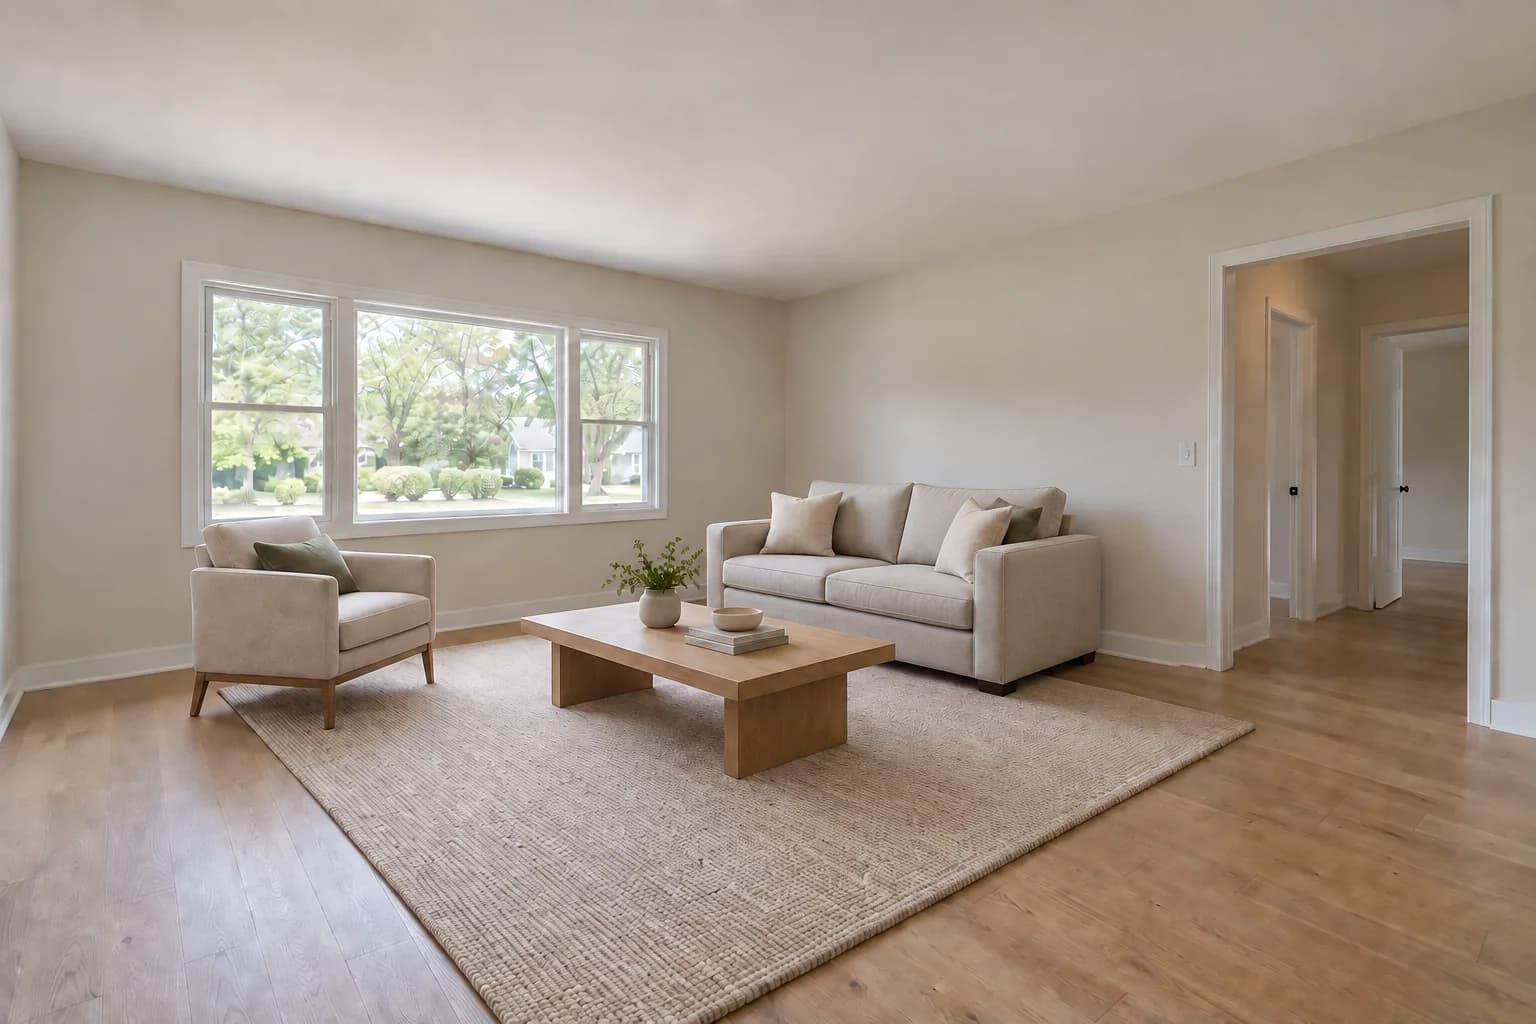
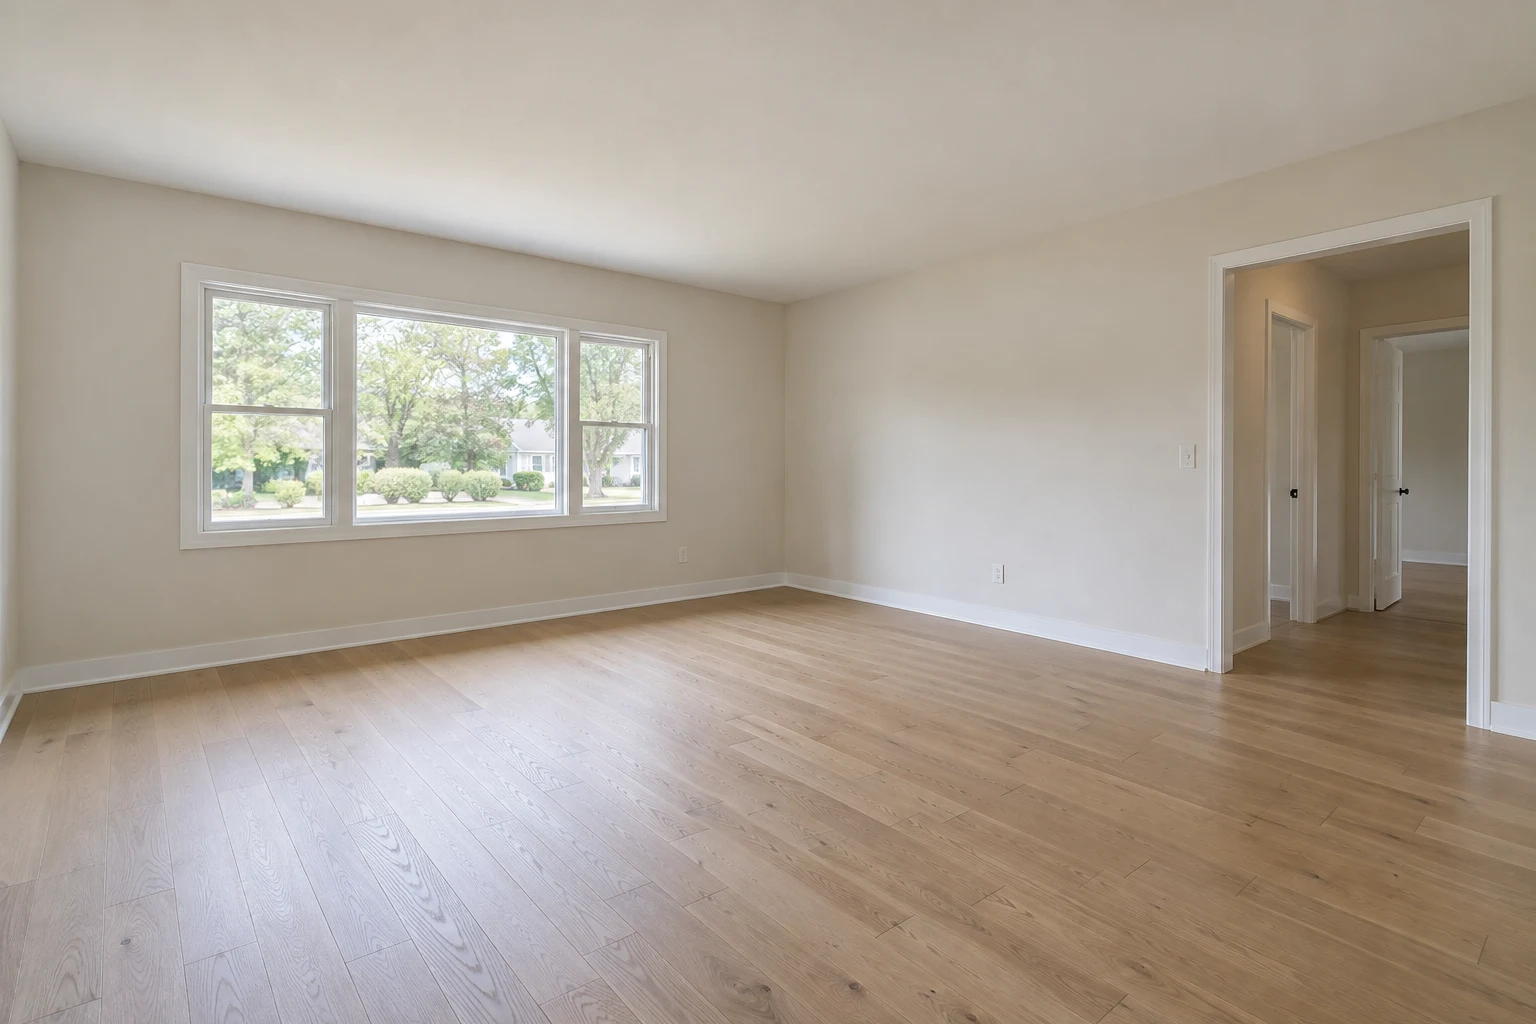
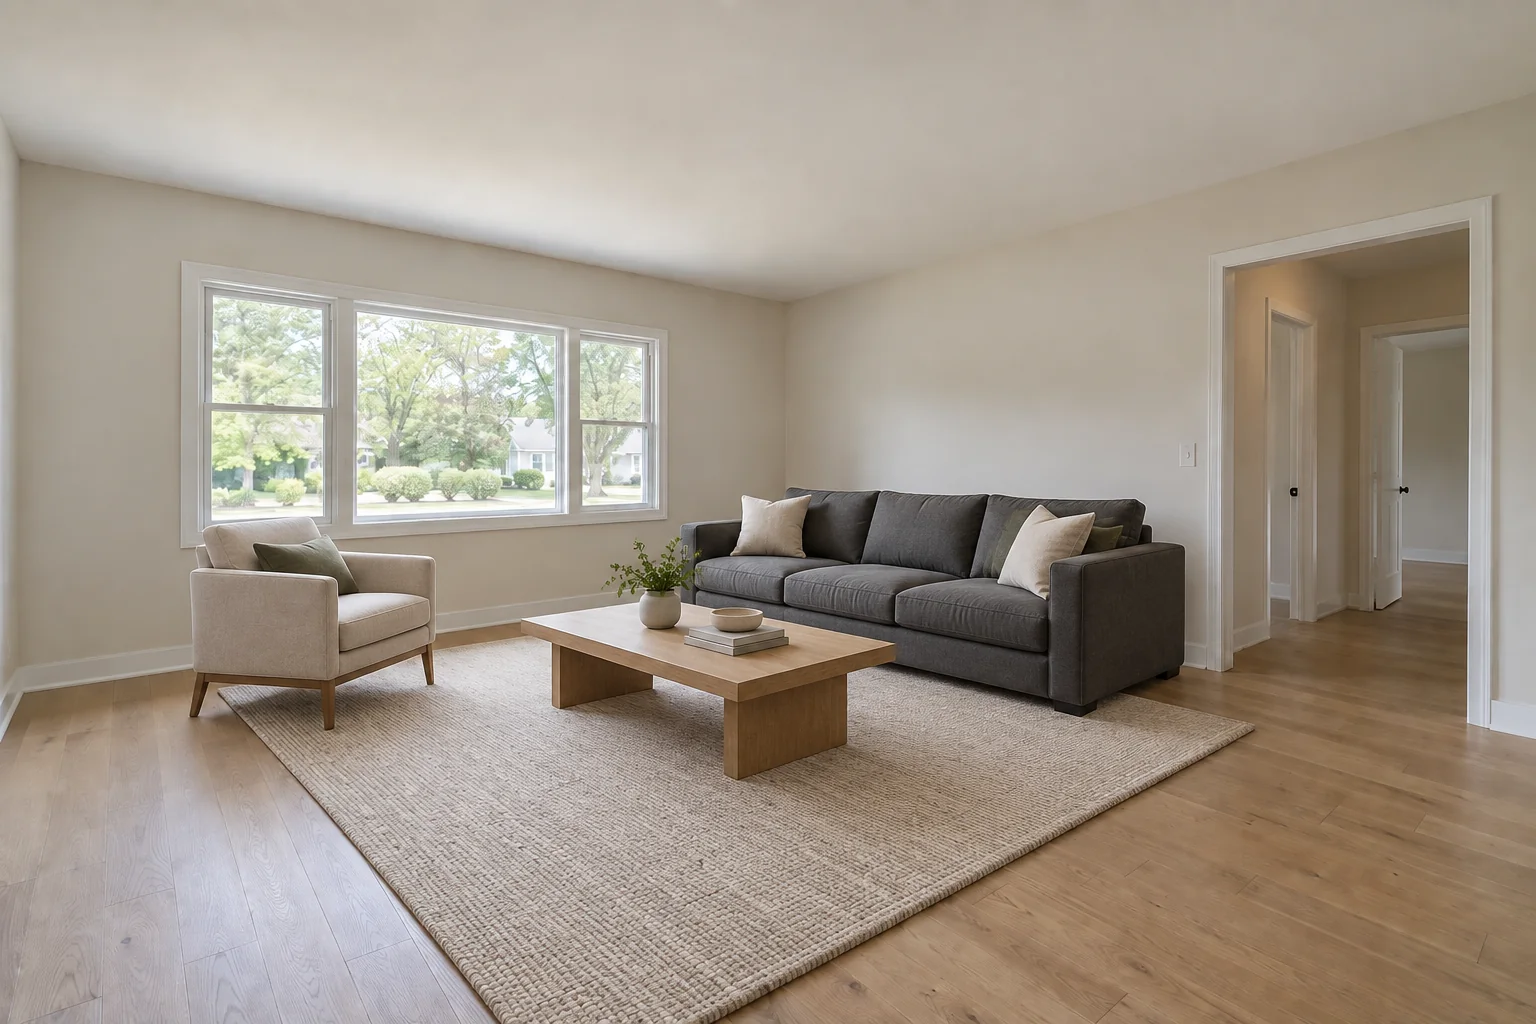
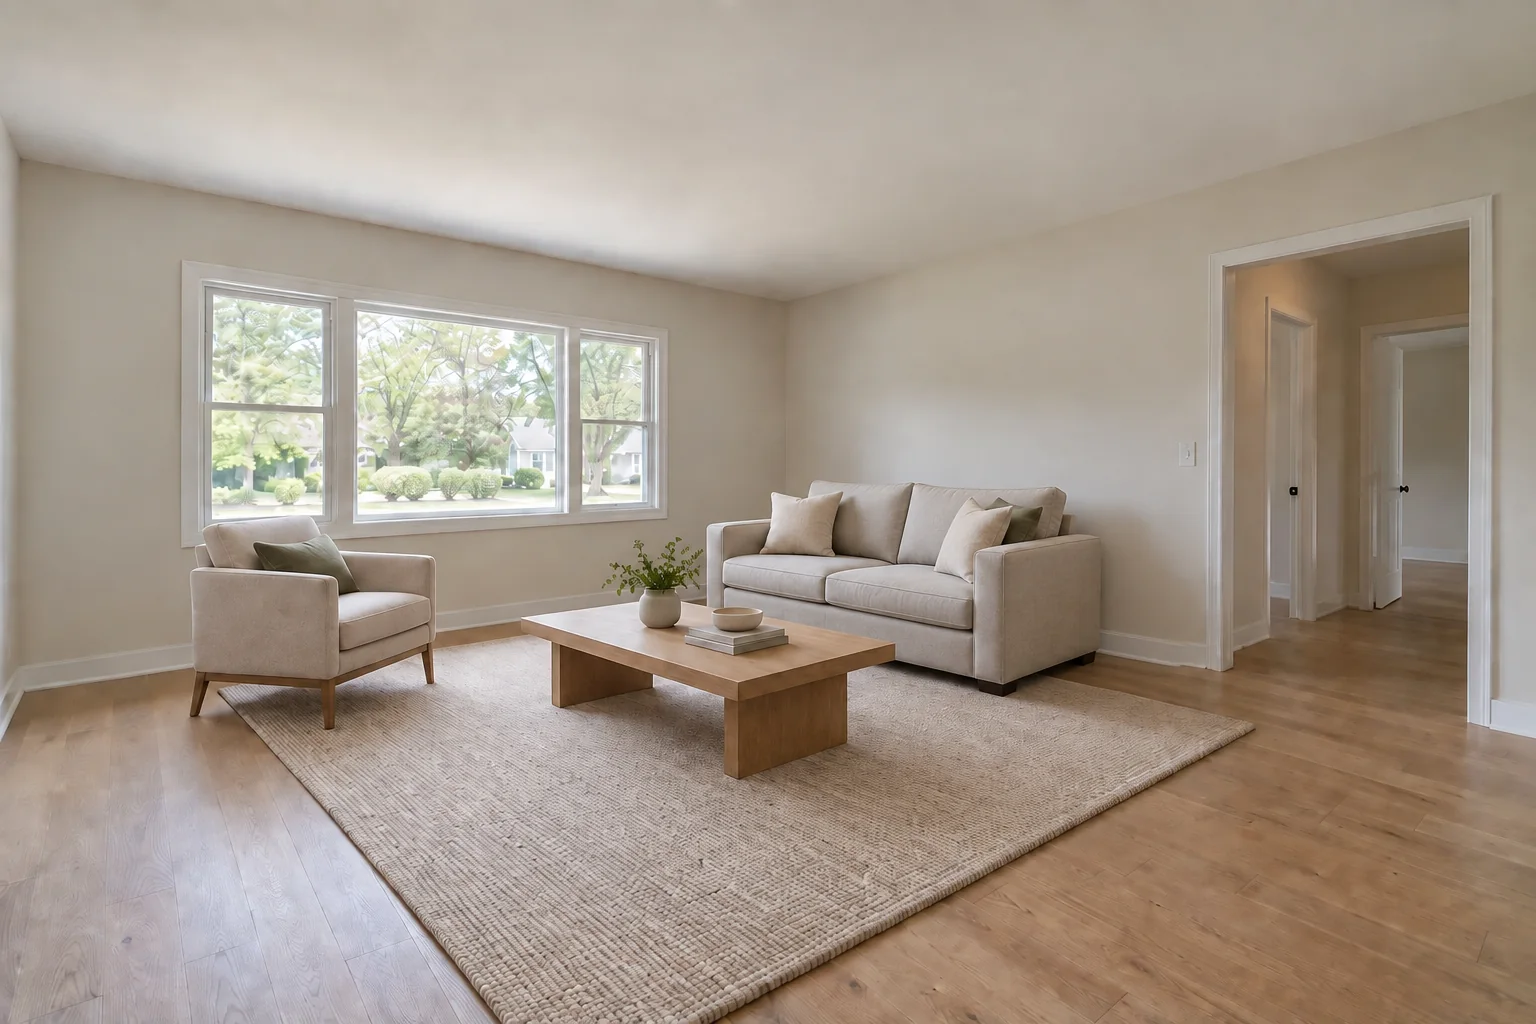
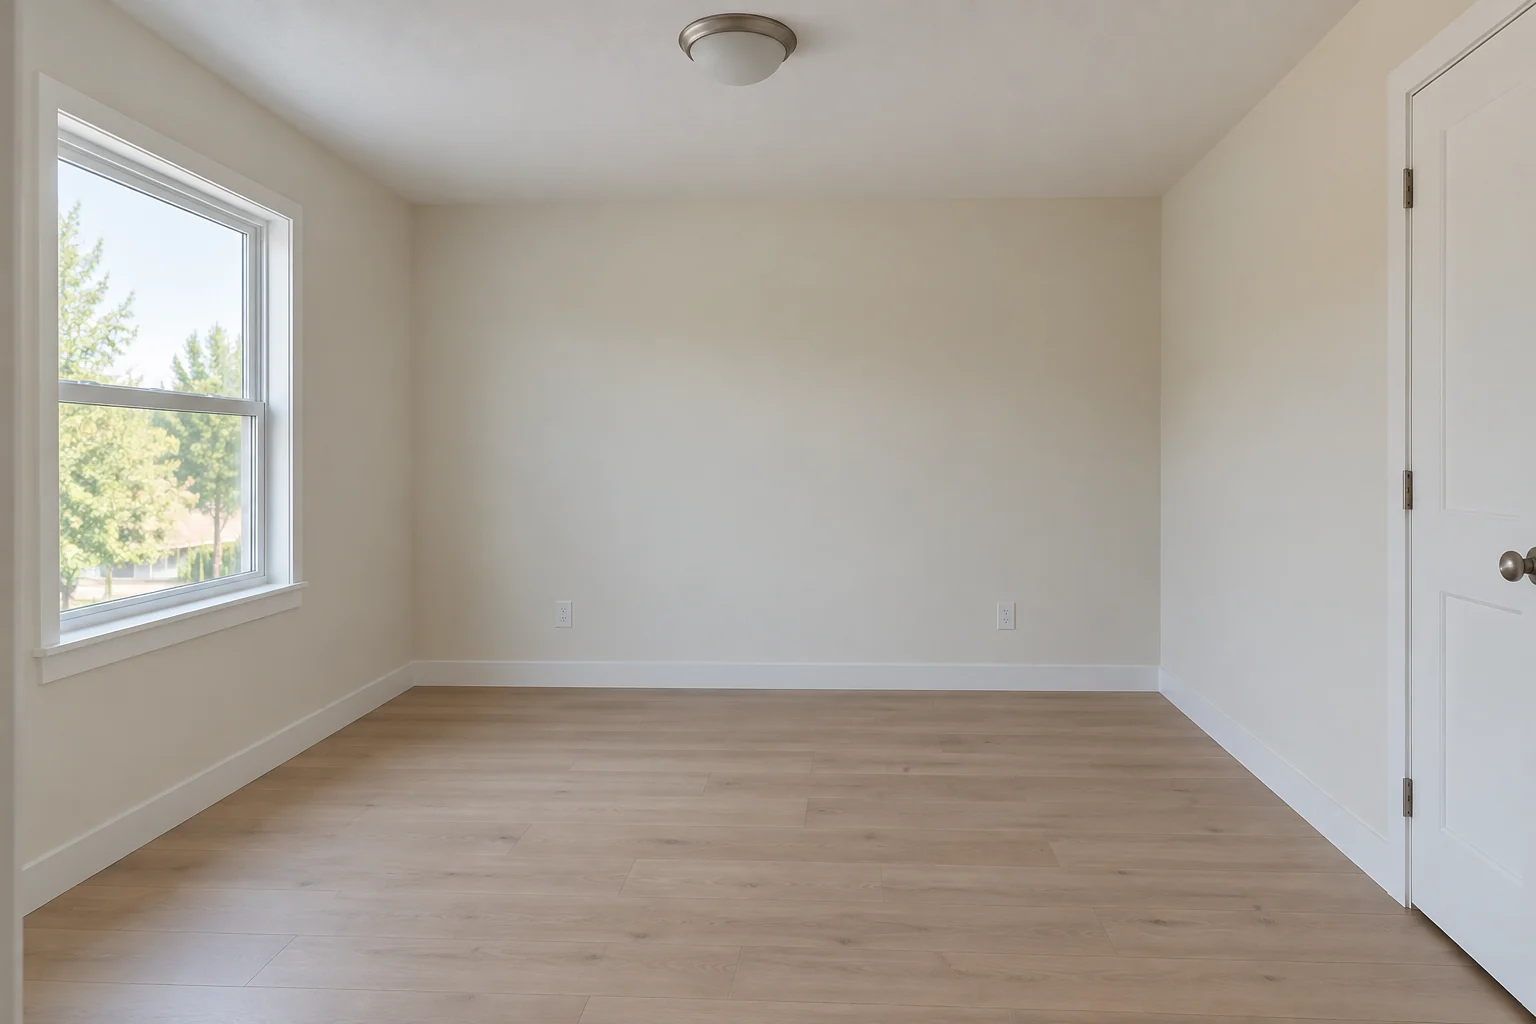
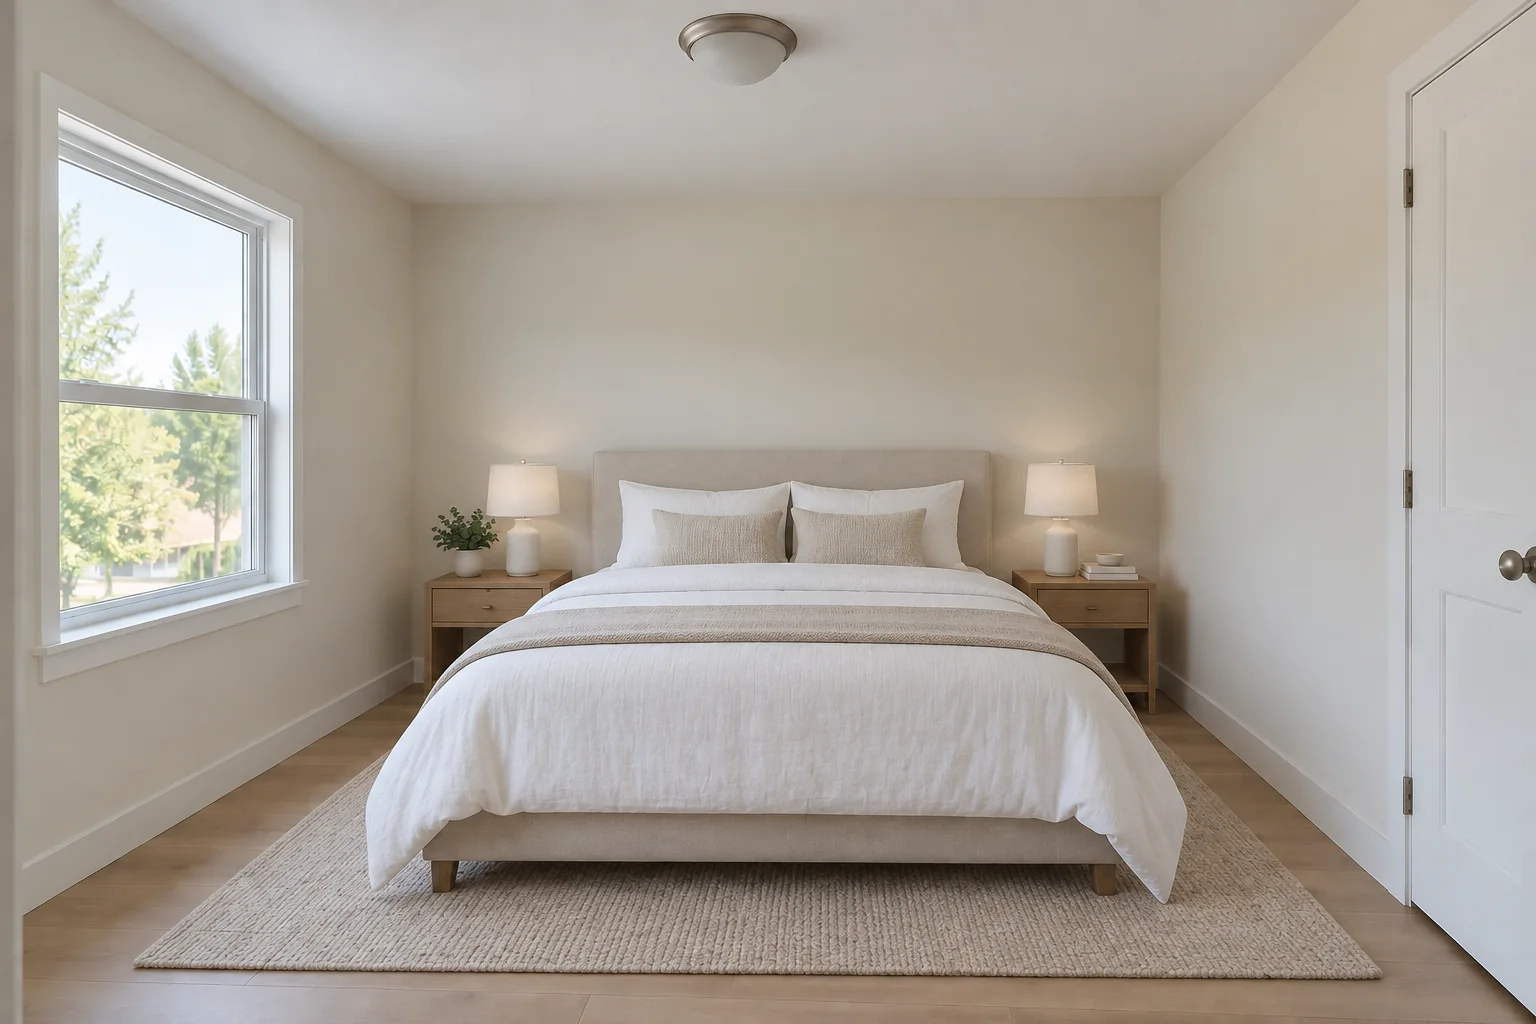
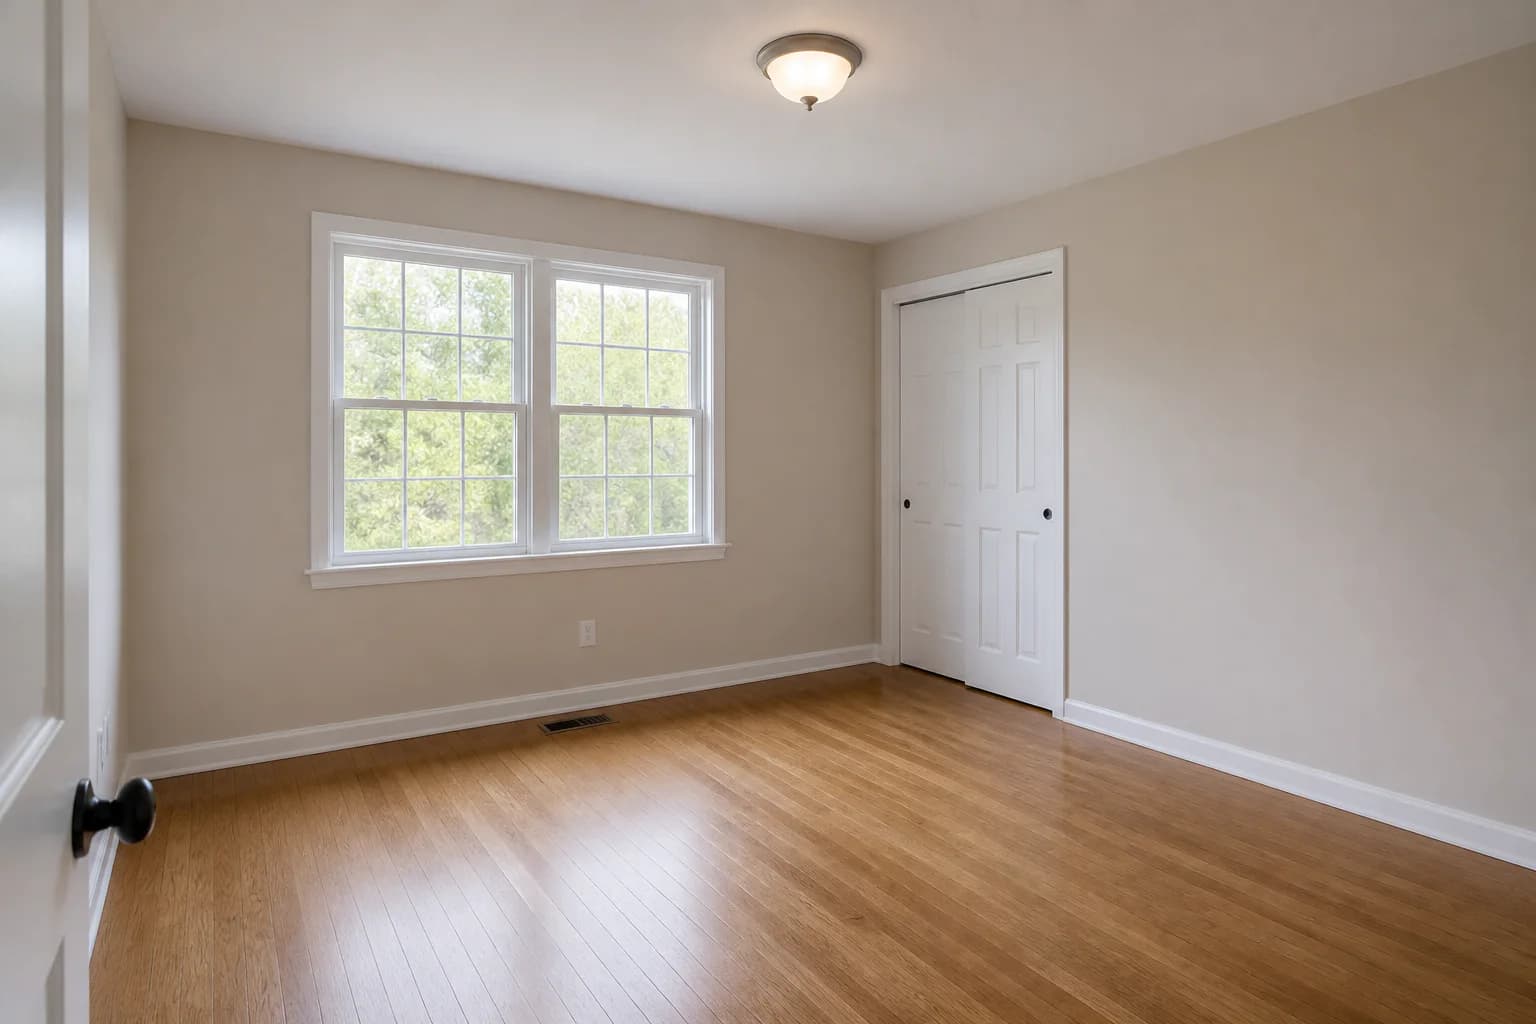
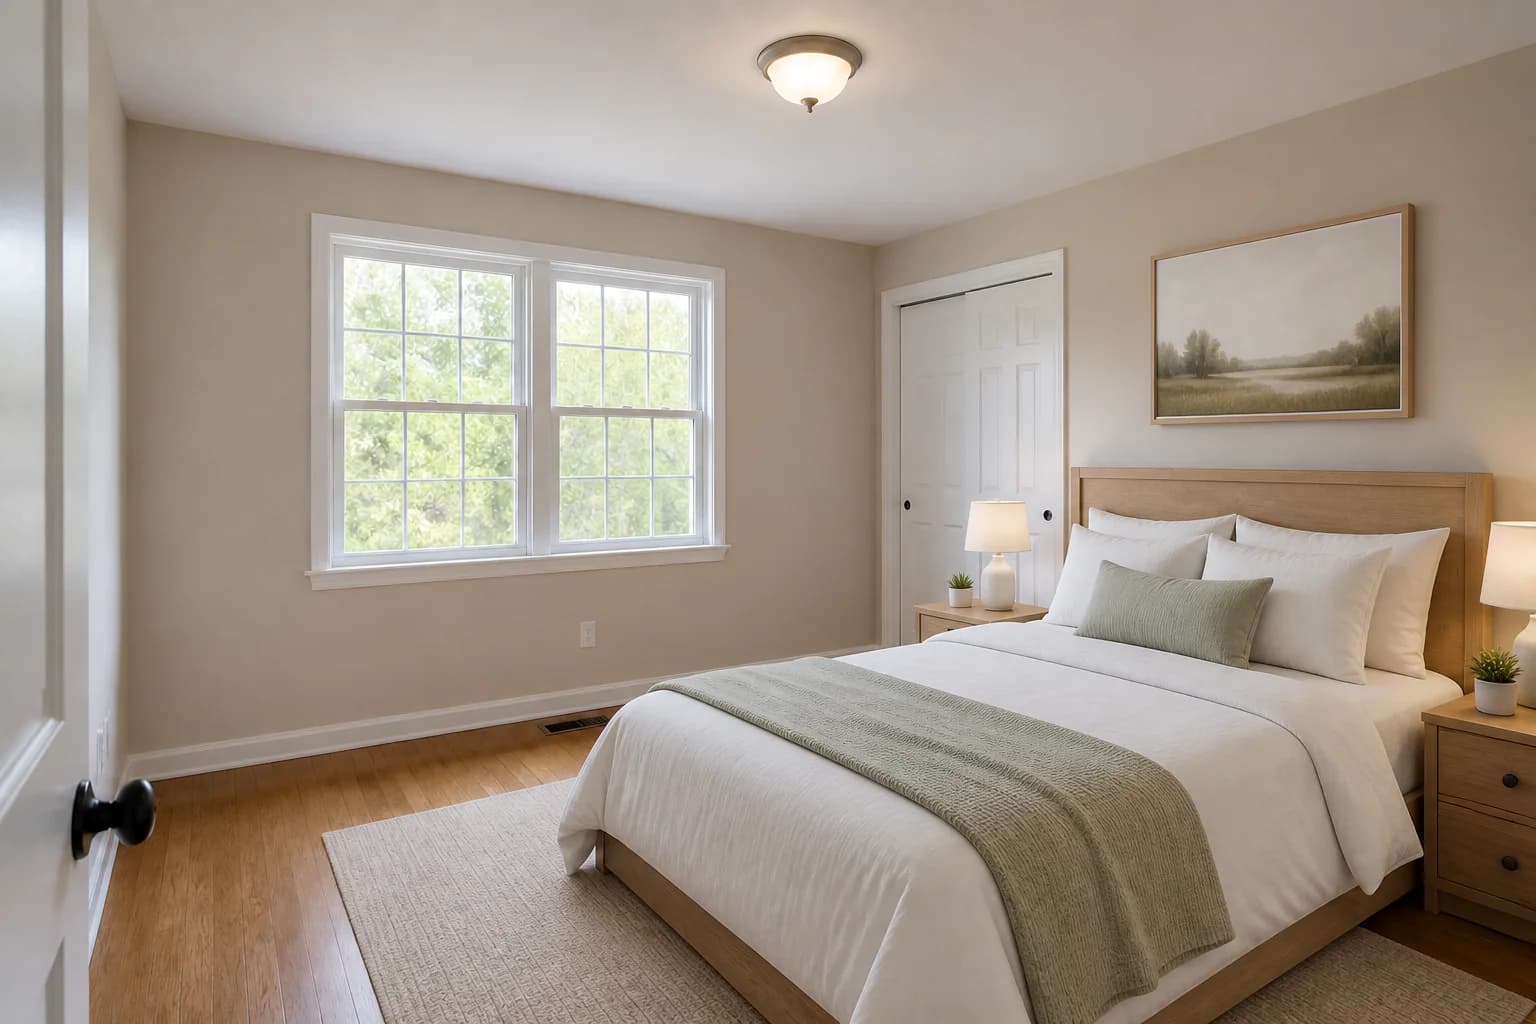
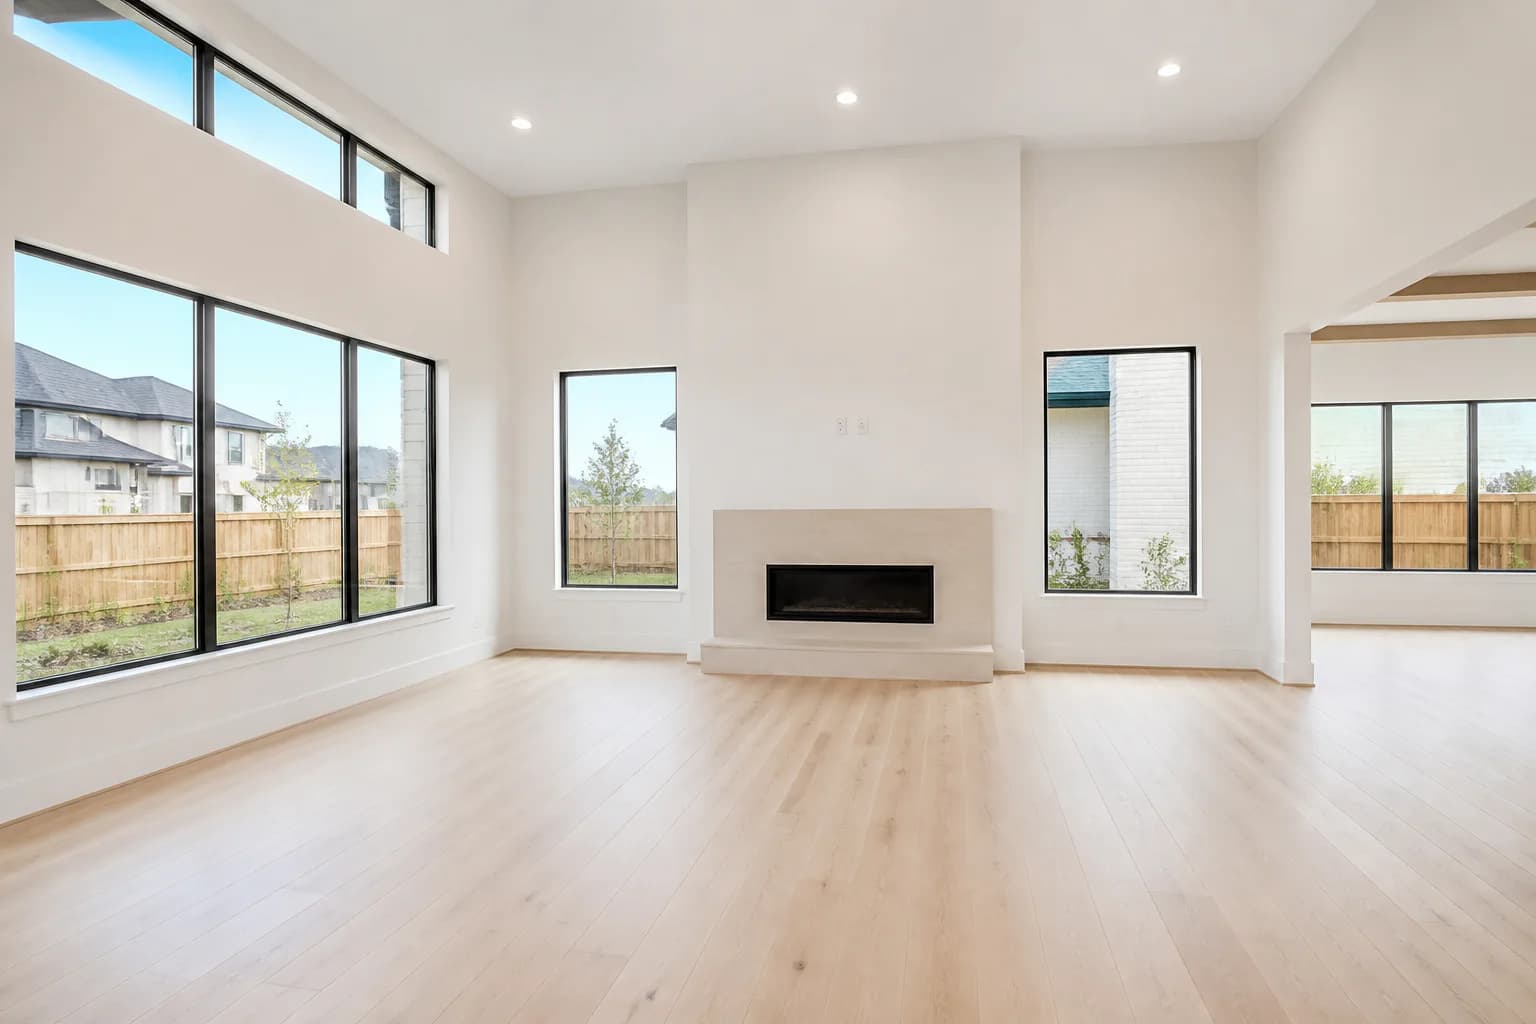
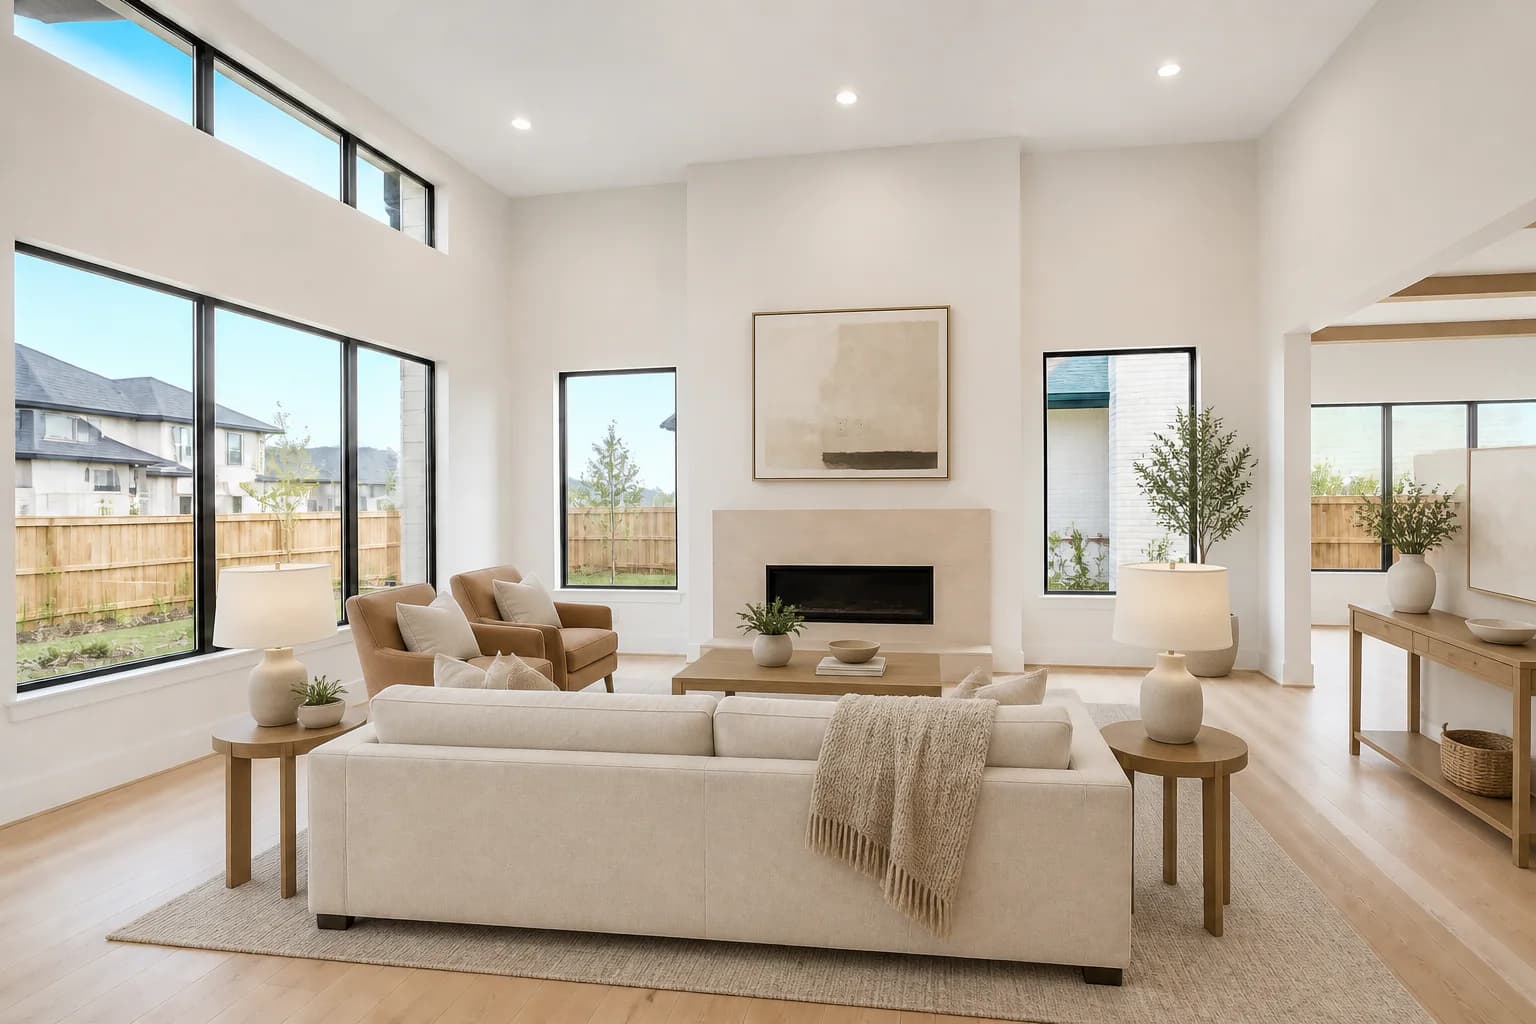
Compare the untouched room concept with its furnished counterpart, then use the review guide below to judge property fidelity, furniture scale, and publish-ready details.

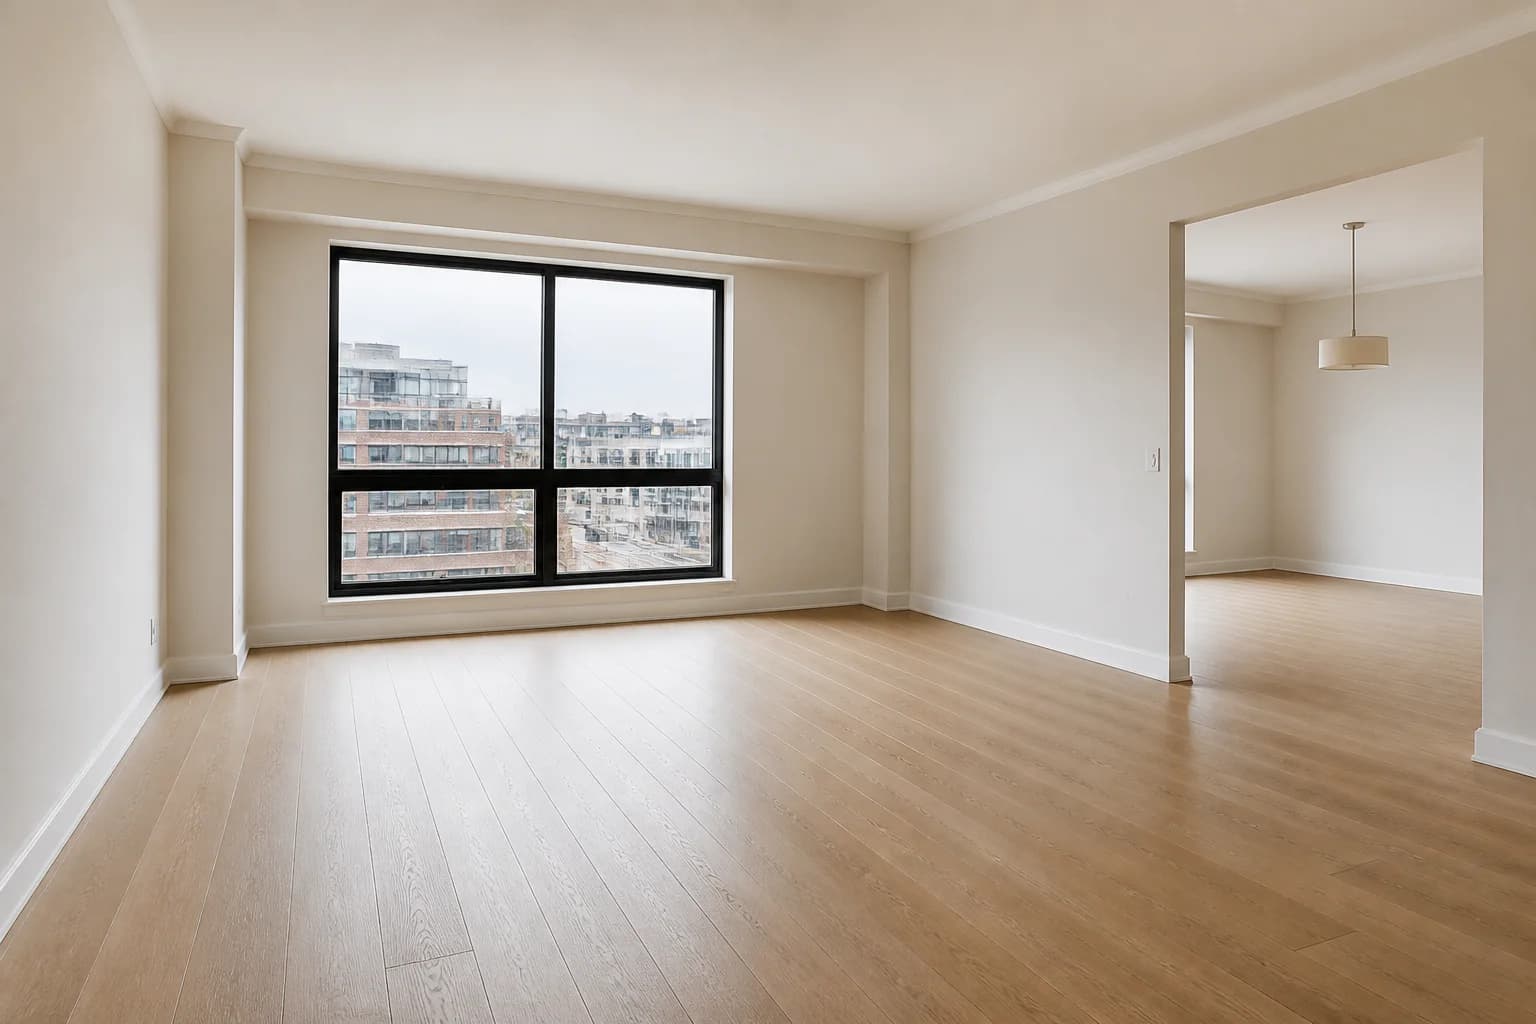
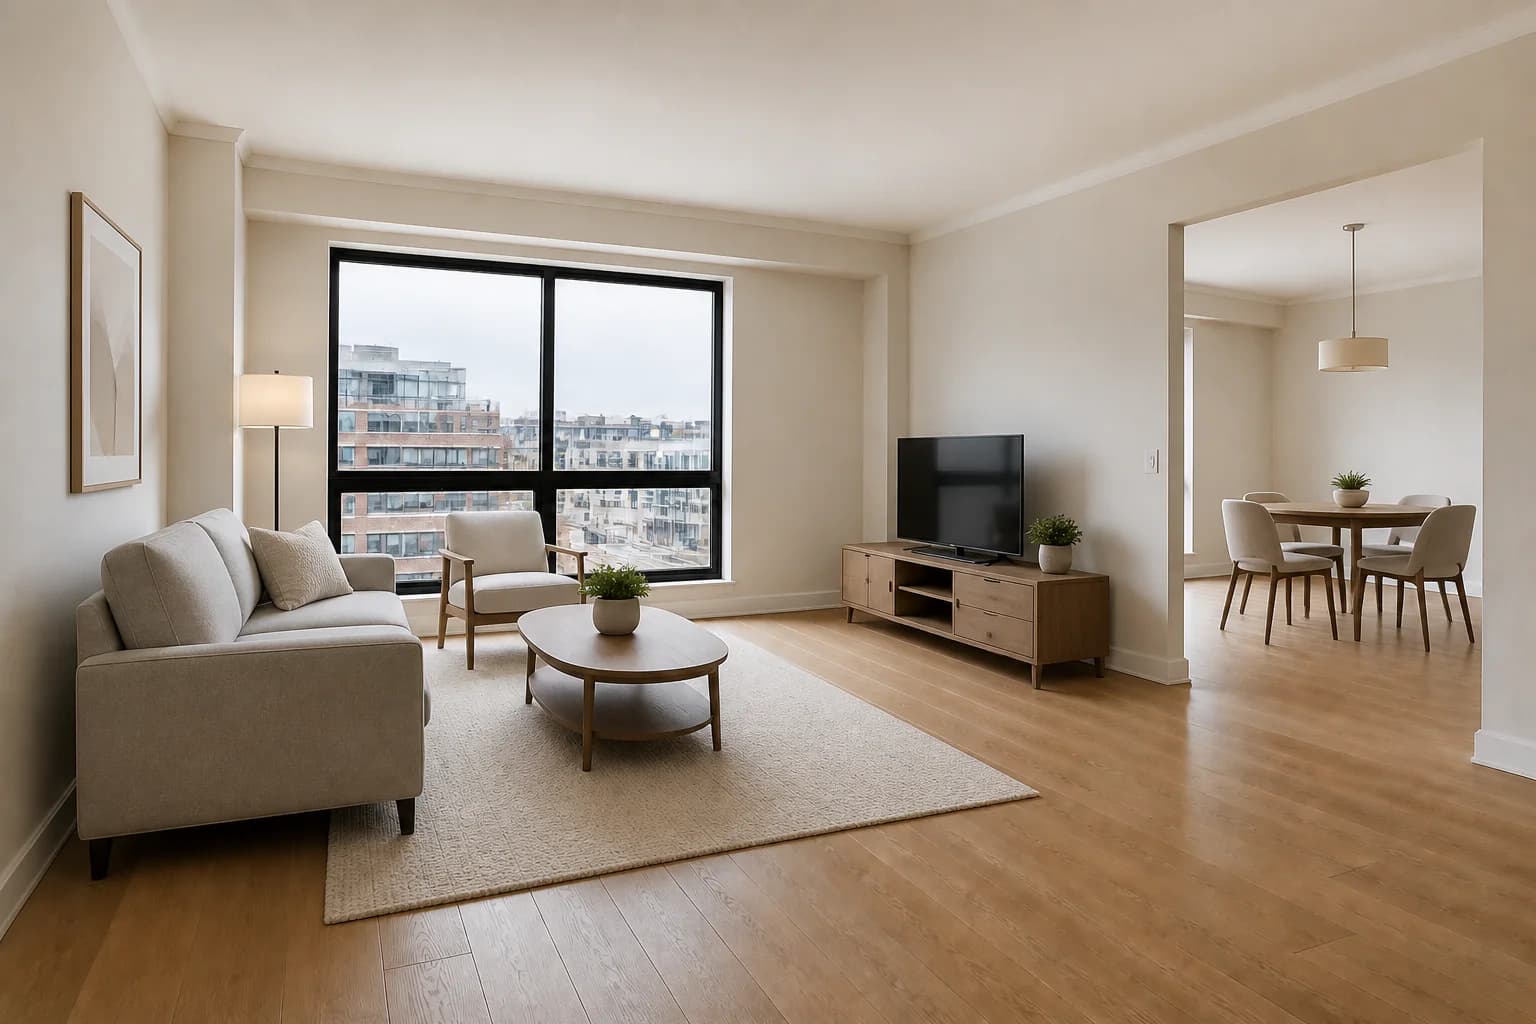
All gallery images are AI-generated demonstration scenes created for this educational guide. They are not customer uploads or verified examples of output produced inside StagingGPT.

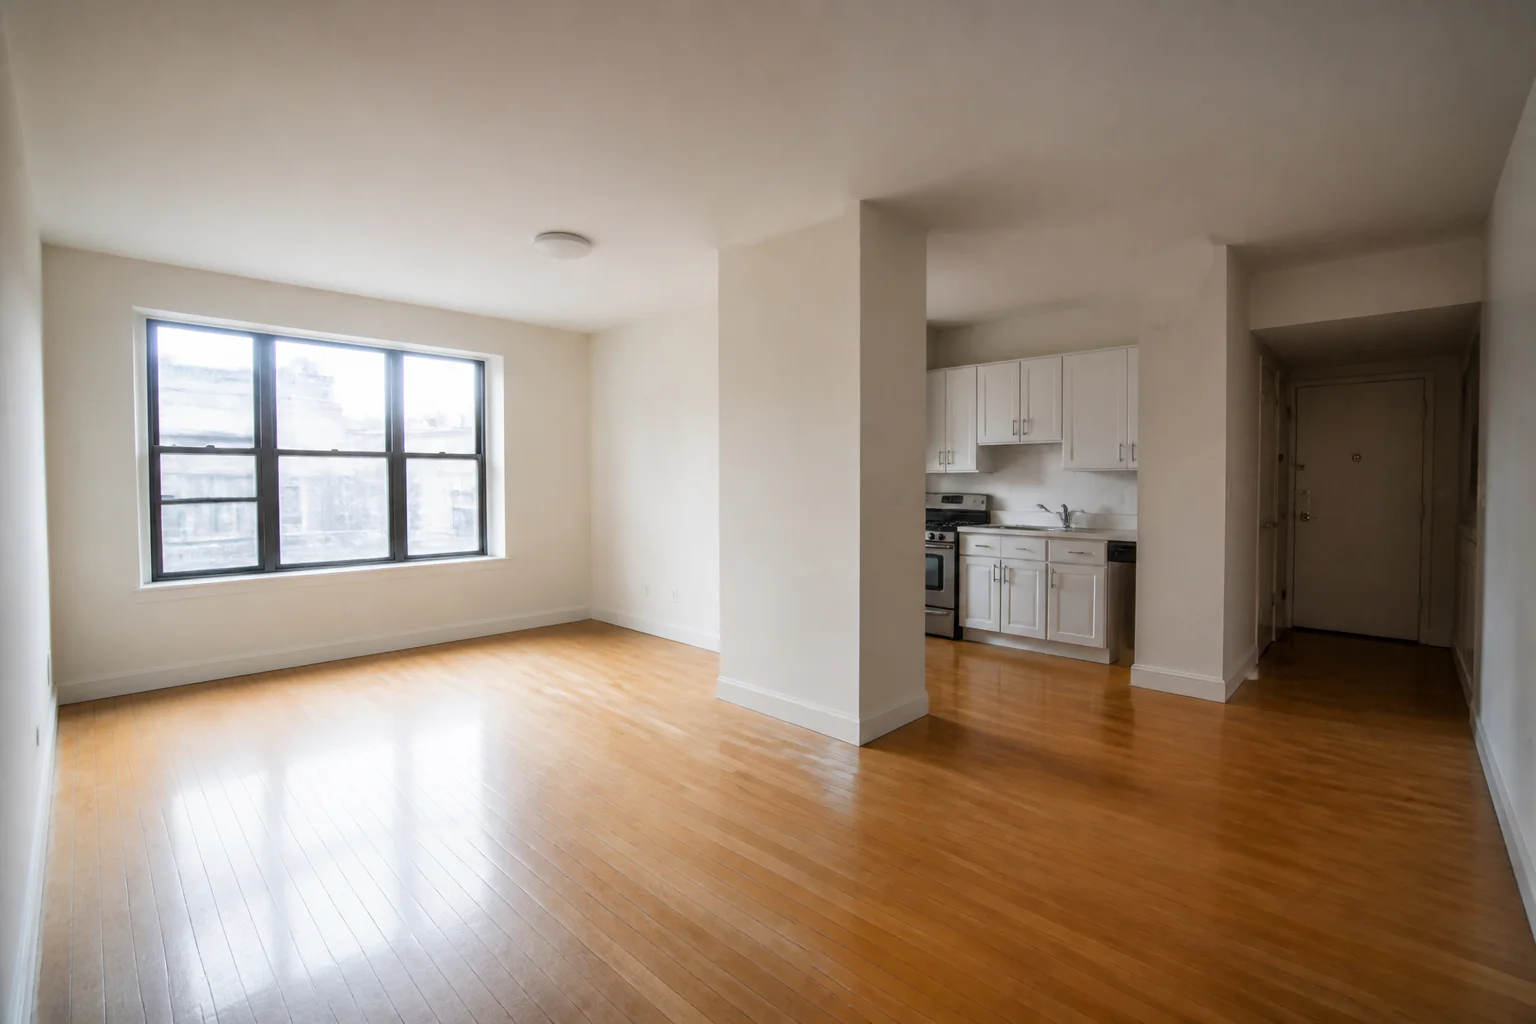
AI-generated demonstration of a vacant urban condo living room with an open dining areaBefore
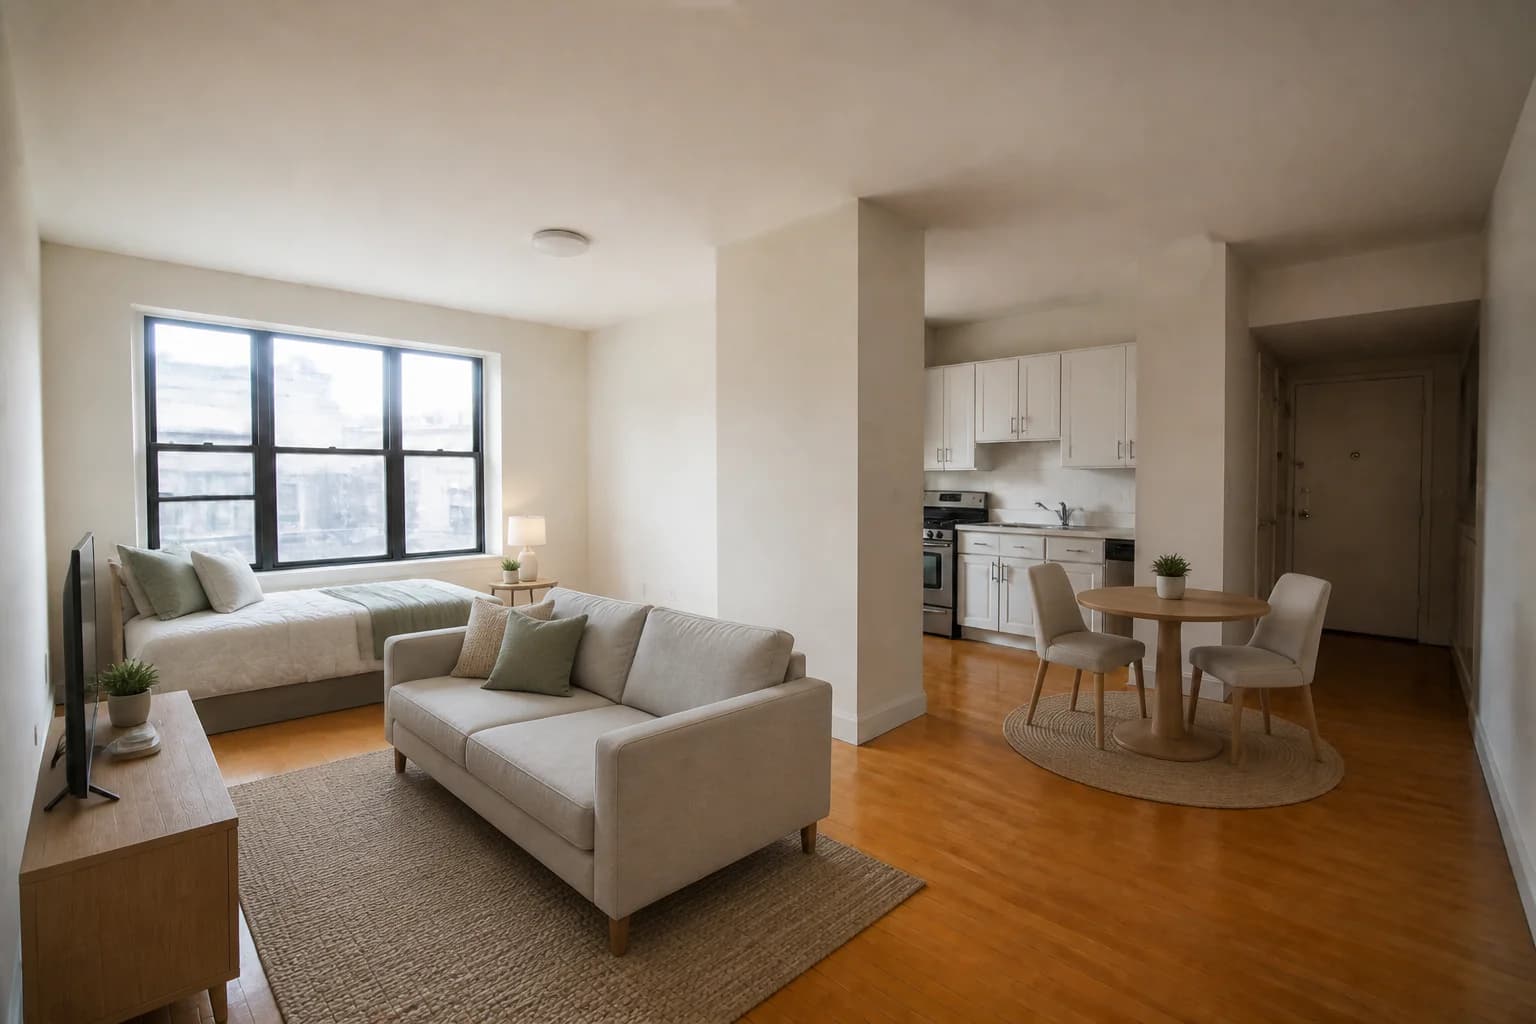
AI-generated demonstration of the same condo virtually furnished as a living and dining areaAfter

A vacant condo becomes a legible living-and-dining plan while its architecture and camera view remain the comparison anchors.

Illustrative workflows

Three fictional project walkthroughs

Fictional/composite scenarios—not customer storiesThese demonstrations combine common workflow considerations for educational purposes. They are not real customers, testimonials, performance claims, case-study evidence, or representations that the gallery images were created with StagingGPT.
Fictional composite demonstration 01

Preparing a vacant condo listing

Illustrative role: independent listing agent

Goal
Help prospective buyers understand how one open room could support both conversation seating and a dining area.
Staging decisions
Use an apartment-scale sofa, one lounge chair, a small dining table, and a quiet palette. Keep the route from the entrance to the window visually open.
Review checks
Compare window mullions, doorway width, floor seams, wall corners, and the available clearance around every added object with the untouched image.
Disclosure and delivery
Retain the original photo, label the staged version as digitally or virtually staged where required, and provide both files to the listing team.
Fictional composite demonstration 02

Explaining a new-build great room

Illustrative role: real estate photographer working with a builder

Goal
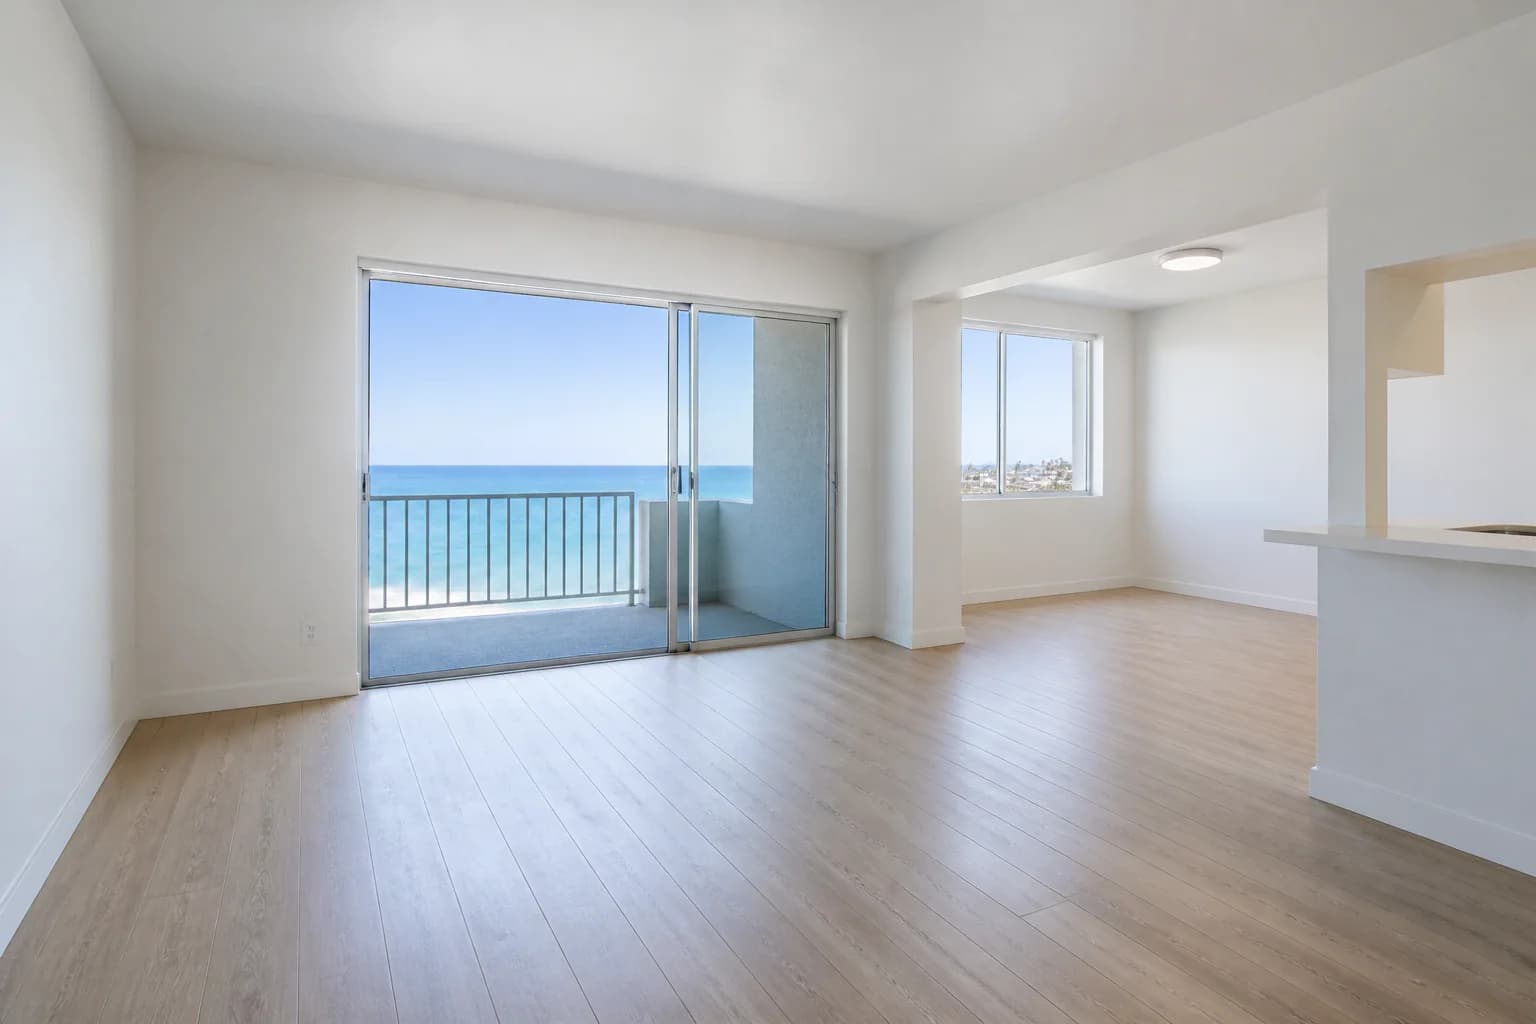
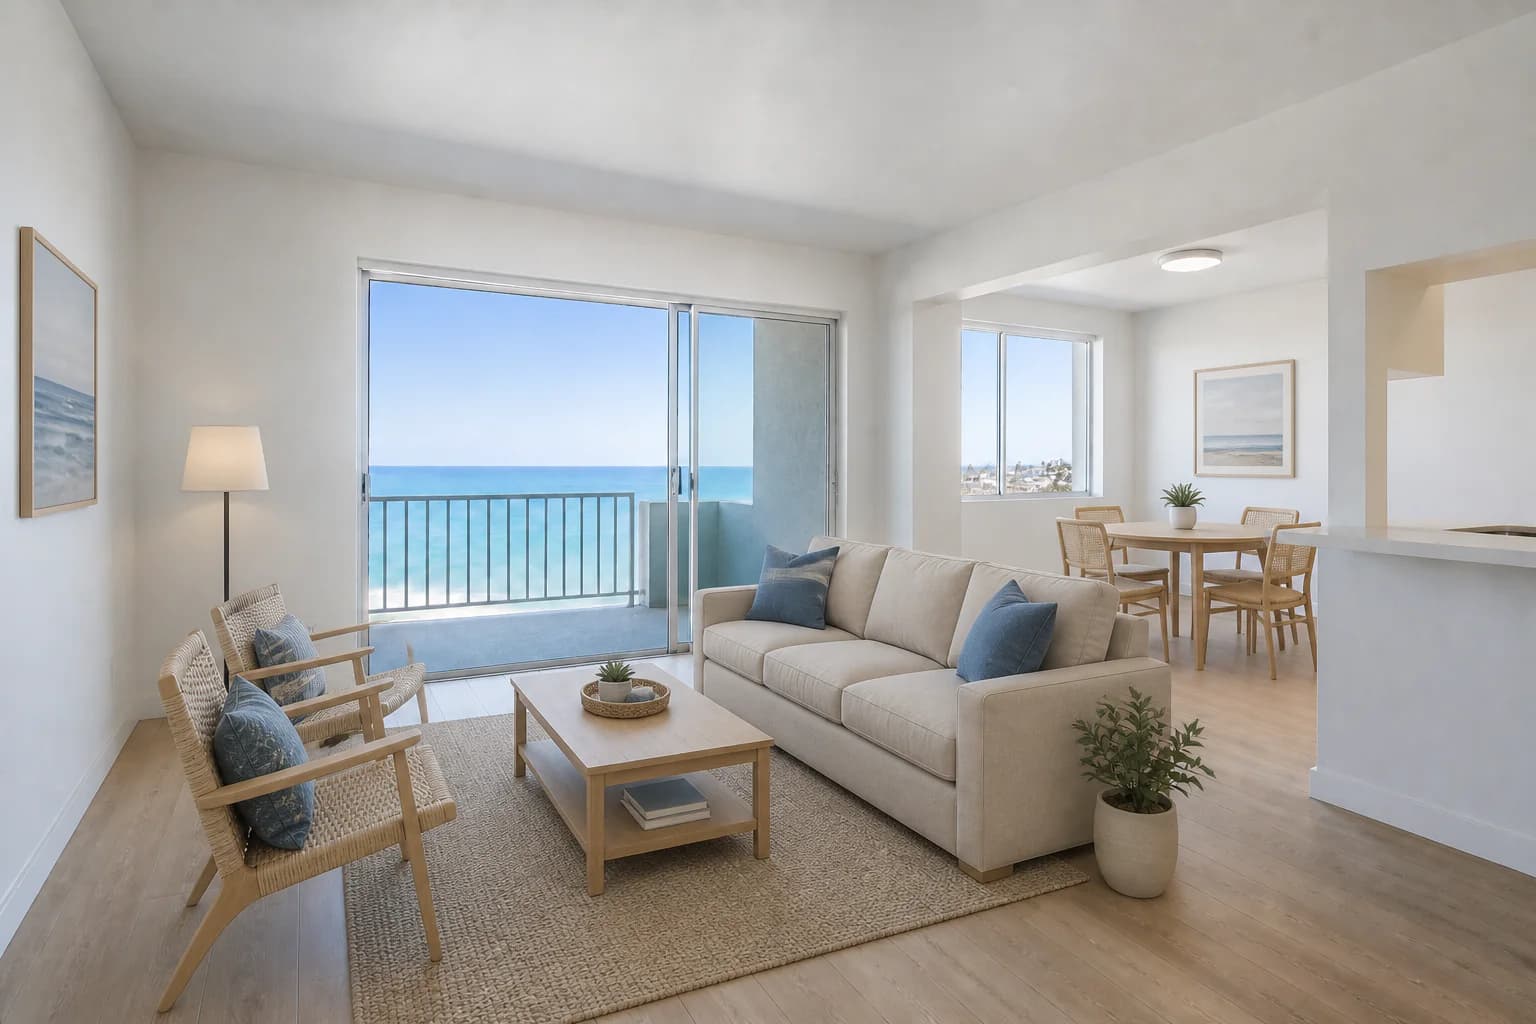
Show the intended living and dining zones before a model home is furnished, without implying upgrades that are not part of the property.
Staging decisions
Choose furniture that respects the room scale and sightlines. Avoid adding built-ins, fixtures, finish changes, or landscaping beyond the photographed shell.
Review checks
Review ceiling lines, windows, outlets, kitchen elements, flooring transitions, shadows, object scale, and passage widths at full size.
Disclosure and delivery
Send the original and concept as a paired set, identify the concept as AI-generated staging, and ask the builder to verify that permanent features remain accurate.
Fictional composite demonstration 03

Clarifying a compact studio layout

Illustrative role: small property-management team

Goal
Demonstrate one plausible layout for a studio whose empty photo makes its usable scale difficult to judge.
Staging decisions
Favor compact furniture and visible circulation. Show a sleeping zone without hiding the kitchen, windows, storage access, or entry path.
Review checks
Confirm that furniture does not intersect walls or appliances, perspective remains consistent, reflections and shadows make sense, and the room has not been widened.
Disclosure and delivery
Publish only after a human review, keep the original available, and follow the applicable platform, advertising, and local disclosure requirements.

Quality control

A practical gallery evaluation checklist

Review at full resolution and compare directly with the source. If an edit creates doubt about the real room, revise it or use the original instead.

Read the room-staging walkthrough
  • Architecture stays fixed

    Compare walls, windows, doors, flooring, ceilings, built-ins, fixtures, views, and permanent finishes against the source photo.

  • Scale feels credible

    Check that beds, sofas, tables, rugs, and artwork fit the room and align with its perspective rather than making it appear larger.

  • Circulation remains usable

    Look for clear routes through doorways and around furniture, with access to closets, appliances, patios, and other functional areas.

  • Light and contact look natural

    Inspect shadows, reflections, furniture edges, floor contact, and window light. Floating objects or inconsistent lighting weaken the result.

  • The concept has one purpose

    A focused room function and restrained furnishing plan are usually easier to understand than a crowded design trying to show every possibility.

  • The original and disclosure travel together

    Keep the unedited photo, label the staged image where required, and confirm the rules for the MLS, portal, brokerage, or campaign using it.

Virtual staging gallery questions

What should I compare in virtual staging before-and-after images?

Start with permanent property details: walls, doors, windows, floors, ceilings, fixtures, views, and room proportions. Then review furniture scale, perspective, traffic paths, light, shadows, and small generation artifacts. The after image should present a furnishing concept without disguising the actual property.

Are the images in this gallery from real customers?

No. Every image on this page is an AI-generated demonstration scene created for educational illustration. The project walkthroughs are fictional composites, not customer stories, testimonials, performance claims, or records of actual StagingGPT jobs.

Can virtual staging remove existing furniture?

A furniture-refresh workflow can explore replacing or removing movable furnishings, but the result still needs careful comparison with the original. Do not use an edit that changes permanent features or misrepresents the property condition.

Should I show the original photo with the staged version?

Keeping both is a useful review and disclosure practice because viewers can distinguish the photographed condition from the furnishing concept. Publication rules vary, so also follow the requirements of your location, brokerage, MLS, advertising platform, or rental marketplace.

How do I get a more useful staged result?

Begin with a level, well-lit photo and give the room one clear purpose. Describe the essential furniture, desired style, traffic paths, and permanent features that must remain unchanged. Review the output closely and revise focused details instead of adding many competing instructions.

Create your own comparison

Start with a room photo and a clear design direction

Keep the original nearby, generate a furnishing concept, and review every permanent property detail before deciding whether the result is ready to use.

Try StagingGPT free