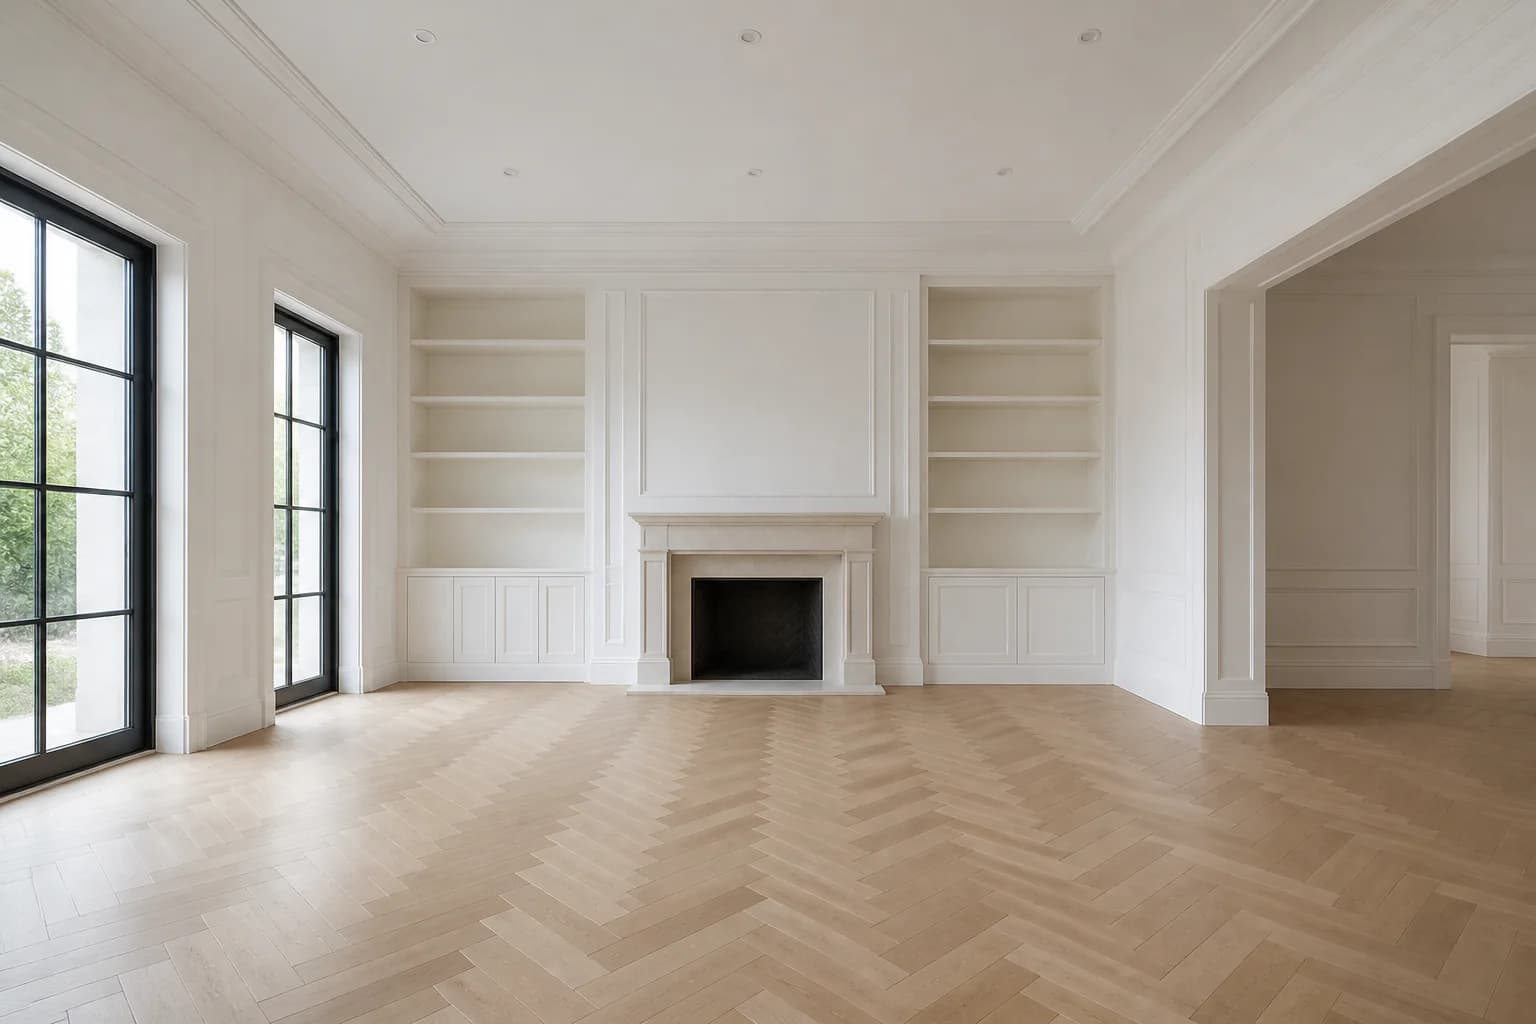
 Before
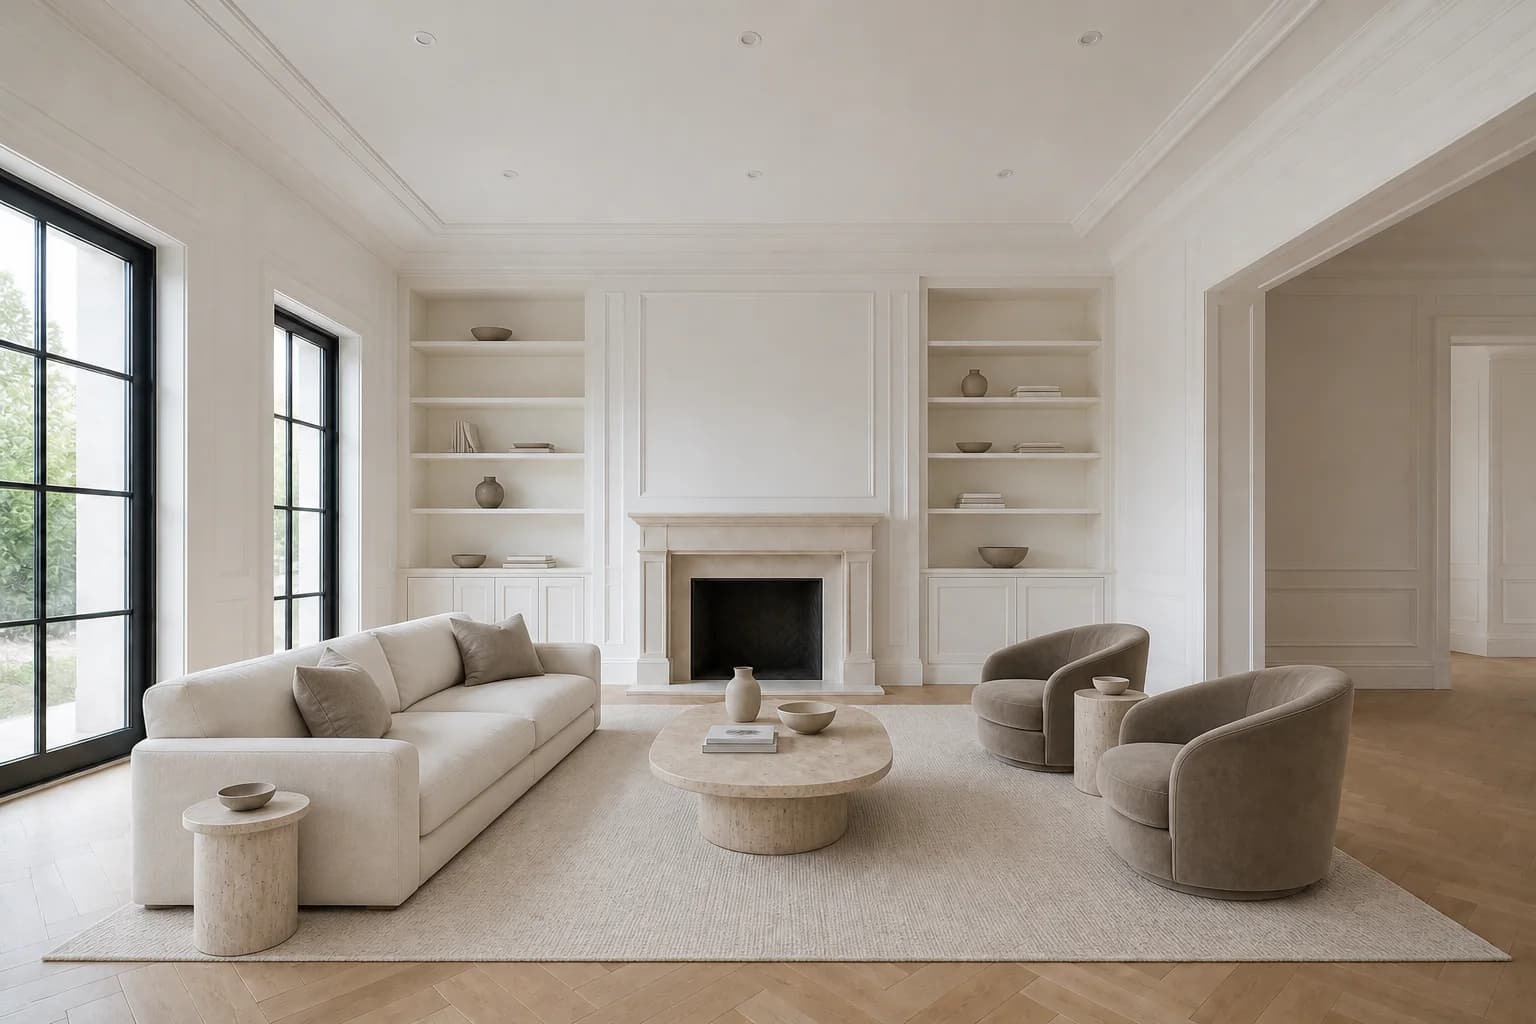 After
AfterFinish a premium living-room delivery
Restrained furniture and sparse shelf styling complement the fireplace, molding, and herringbone floor without competing with the architectural photography.
Virtual staging for real estate photographers
Extend a polished property shoot into furnished room concepts without leaving your post-production workflow. Start from a clean final photograph, choose a staging direction, and give clients a clear before-and-after pair to review.
3 free credits · No credit card required
BeforeAfterRestrained furniture and sparse shelf styling complement the fireplace, molding, and herringbone floor without competing with the architectural photography.
Purpose-built examples
A useful staging add-on respects the original capture and responds to the room. These examples keep the framing and permanent architecture while using furniture appropriate to three distinct assignments.
All before images and staged edits on this page are AI-generated demonstration scenes created for this guide.
BeforeAfterRestrained furniture and sparse shelf styling complement the fireplace, molding, and herringbone floor without competing with the architectural photography.
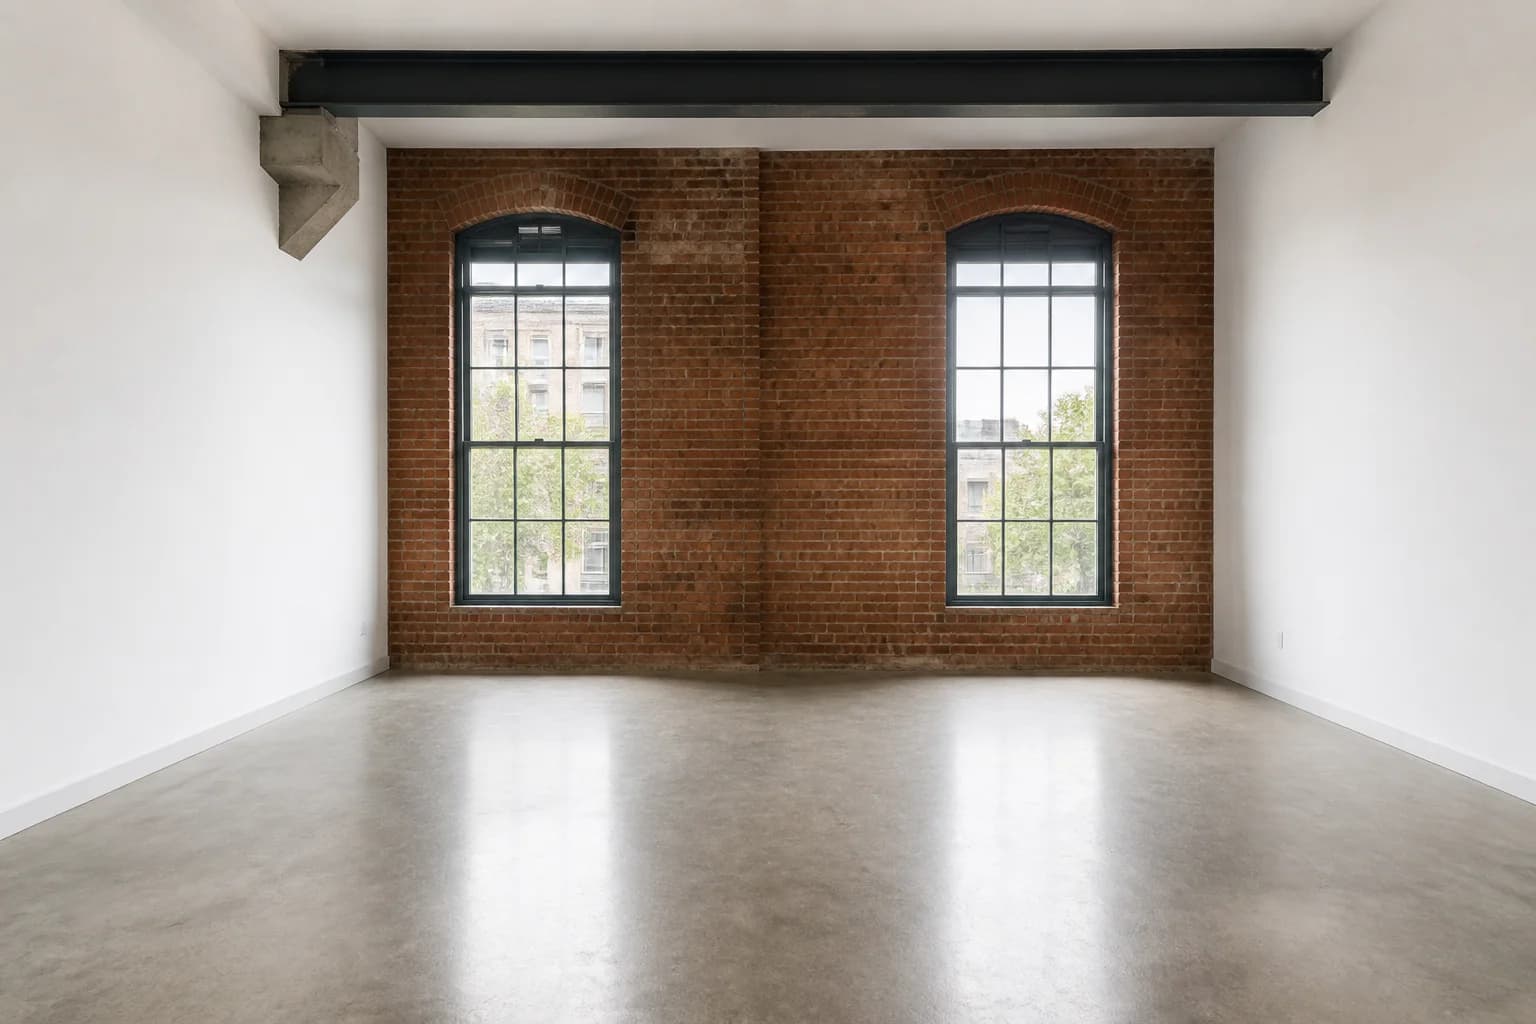 Before
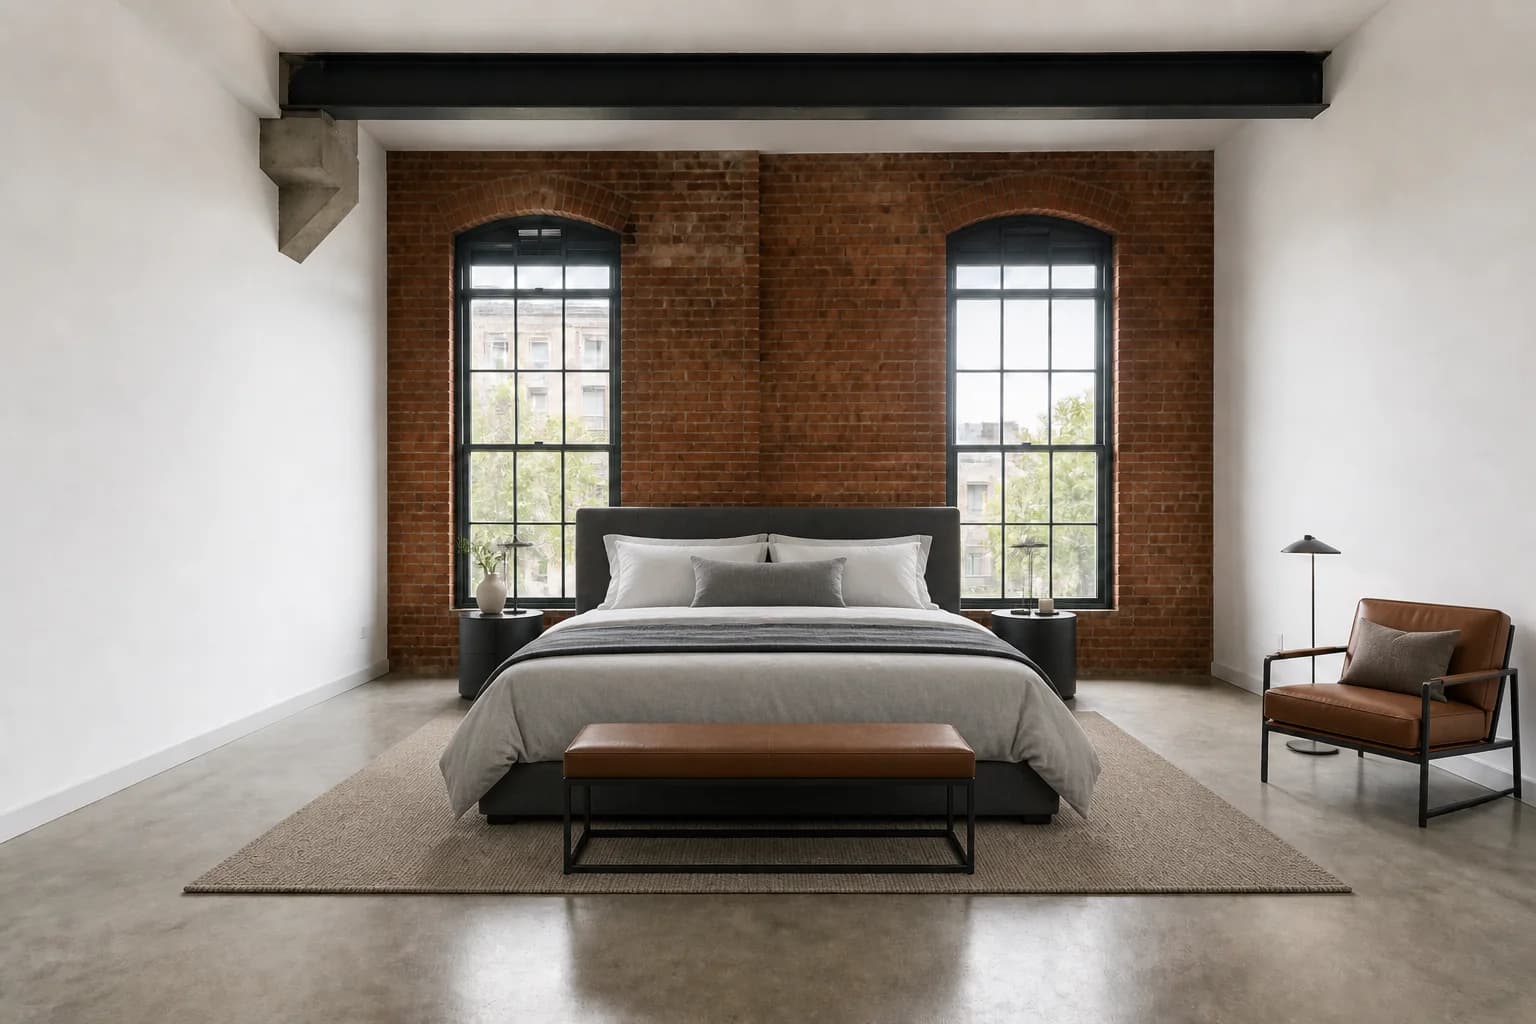 After
AfterA low bedroom composition works with the brick, steel, concrete, and tall windows rather than imposing the same staging style used for a suburban home.
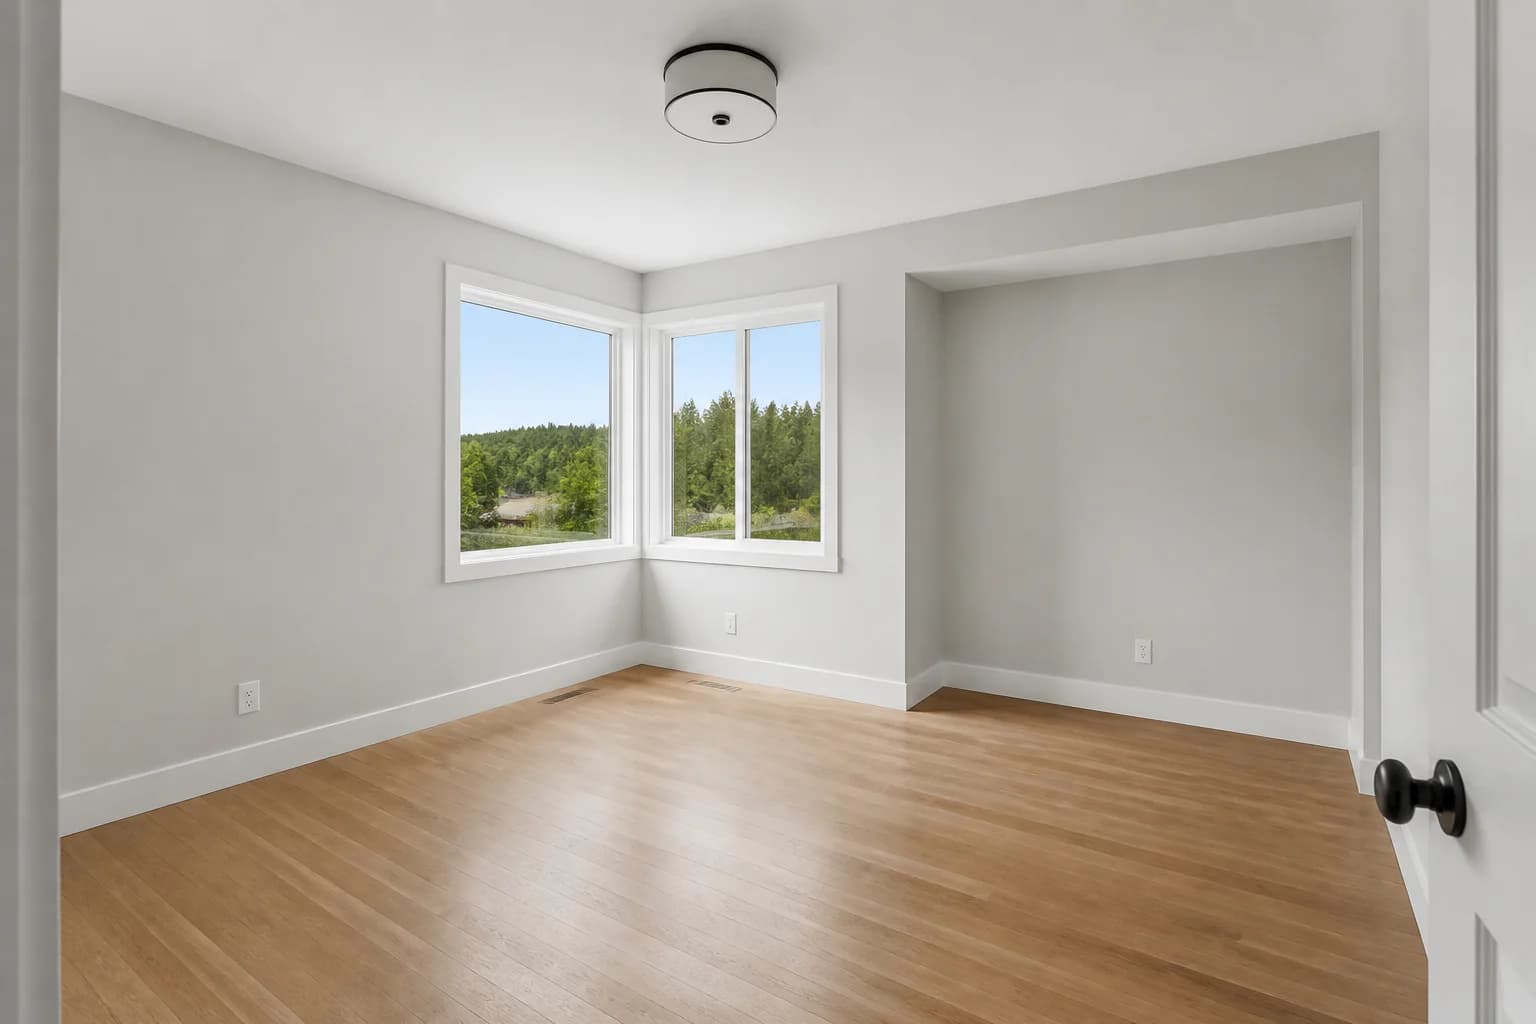 Before
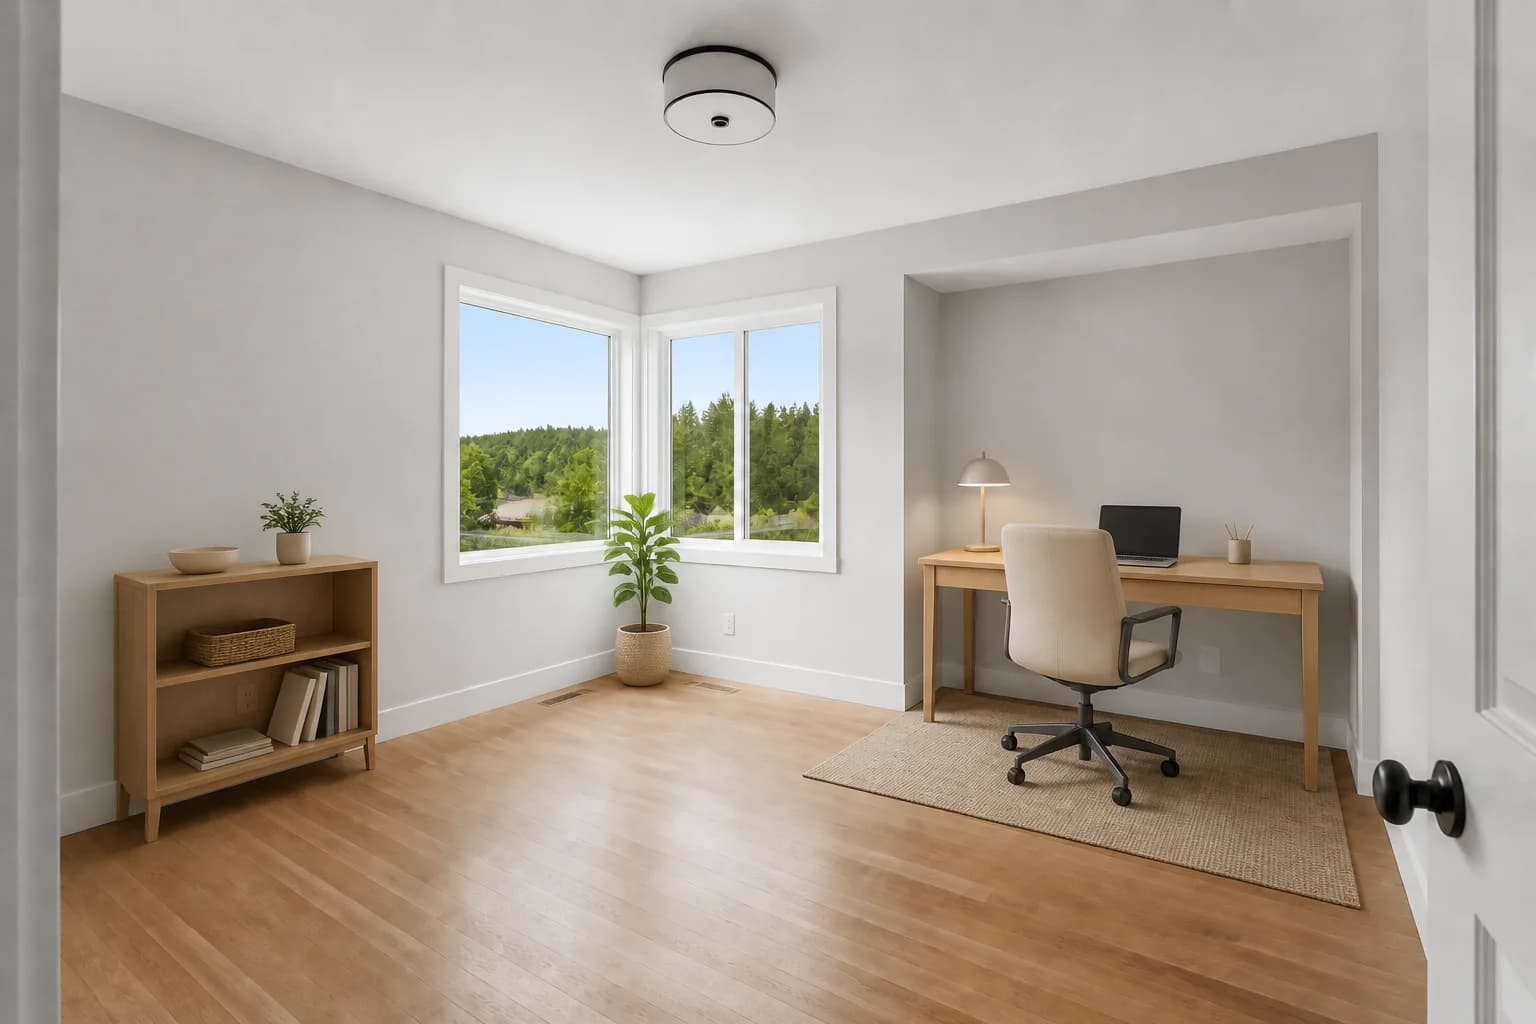 After
AfterA practical desk setup in the existing alcove demonstrates a credible use while keeping the floor area, windows, and actual dimensions easy to assess.
Why it helps
A repeatable process helps you protect the quality of the original shoot while giving agents another useful delivery option for vacant properties.
Use a corrected, well-exposed property image as the source so the staged version begins with the same composition your client approved.
Adapt furniture and styling to a condo, loft, new build, rental, or luxury listing instead of relying on one treatment for every property.
Deliver the original and staged versions together so clients can compare the concept against the photographed room.
Use a focused custom prompt to replace a specific furnishing or refine a layout while stating which architectural features must remain fixed.
Simple workflow
Complete your normal perspective, exposure, and color work first. Export a clean high-resolution frame and preserve the untouched client original.
Choose a room-appropriate style, generate the furniture layer, and inspect edges, reflections, scale, circulation, and permanent details against the source.
Provide before-and-after files with clear names, explain that the staged image is a concept, and apply the client’s local, MLS, and platform disclosure requirements.
Usually, yes. A level, color-corrected, evenly exposed source gives you a stronger comparison pair and reduces ambiguity. Avoid baking in edits that misrepresent permanent property features.
Use the same design direction, palette, and level of furnishing across related rooms, but tailor each prompt to the actual room function and architecture. Review the complete set together before delivery.
Compare the camera view, windows, doors, floors, walls, ceilings, fixtures, built-ins, exterior views, and room proportions with the source. Then check furniture scale, shadows, contact points, reflections, and clear walking paths.
Keep the original and staged files, use unambiguous filenames, and make the comparison easy to review. Confirm the requested resolution and crop, and avoid presenting a staged concept as a photograph of physical furniture.
Requirements and responsibilities differ across locations, MLS organizations, brokerages, and listing platforms. Agree on the delivery and labeling process with the client, retain the originals, and follow the rules that apply to the published listing.
Explore more workflows
Create listing-ready room concepts without coordinating physical furniture.
Learn morePresent completed interiors and model-home possibilities before physical staging.
Learn moreExplore furnishing directions before outfitting or refreshing a short-term rental.
Learn morePlan and review your next project
See your listing differently
Upload a room photo, choose a direction, and create a staged concept you can review before using it in your marketing.
Try StagingGPT free